
 Back in May we had a major wind storm that blew a big portion of our fence down breaking some of the fence boards. Instead of throwing them out I wanted to use them somehow. I asked my husband to make me a flat plank out of them so I could make it into a flag.

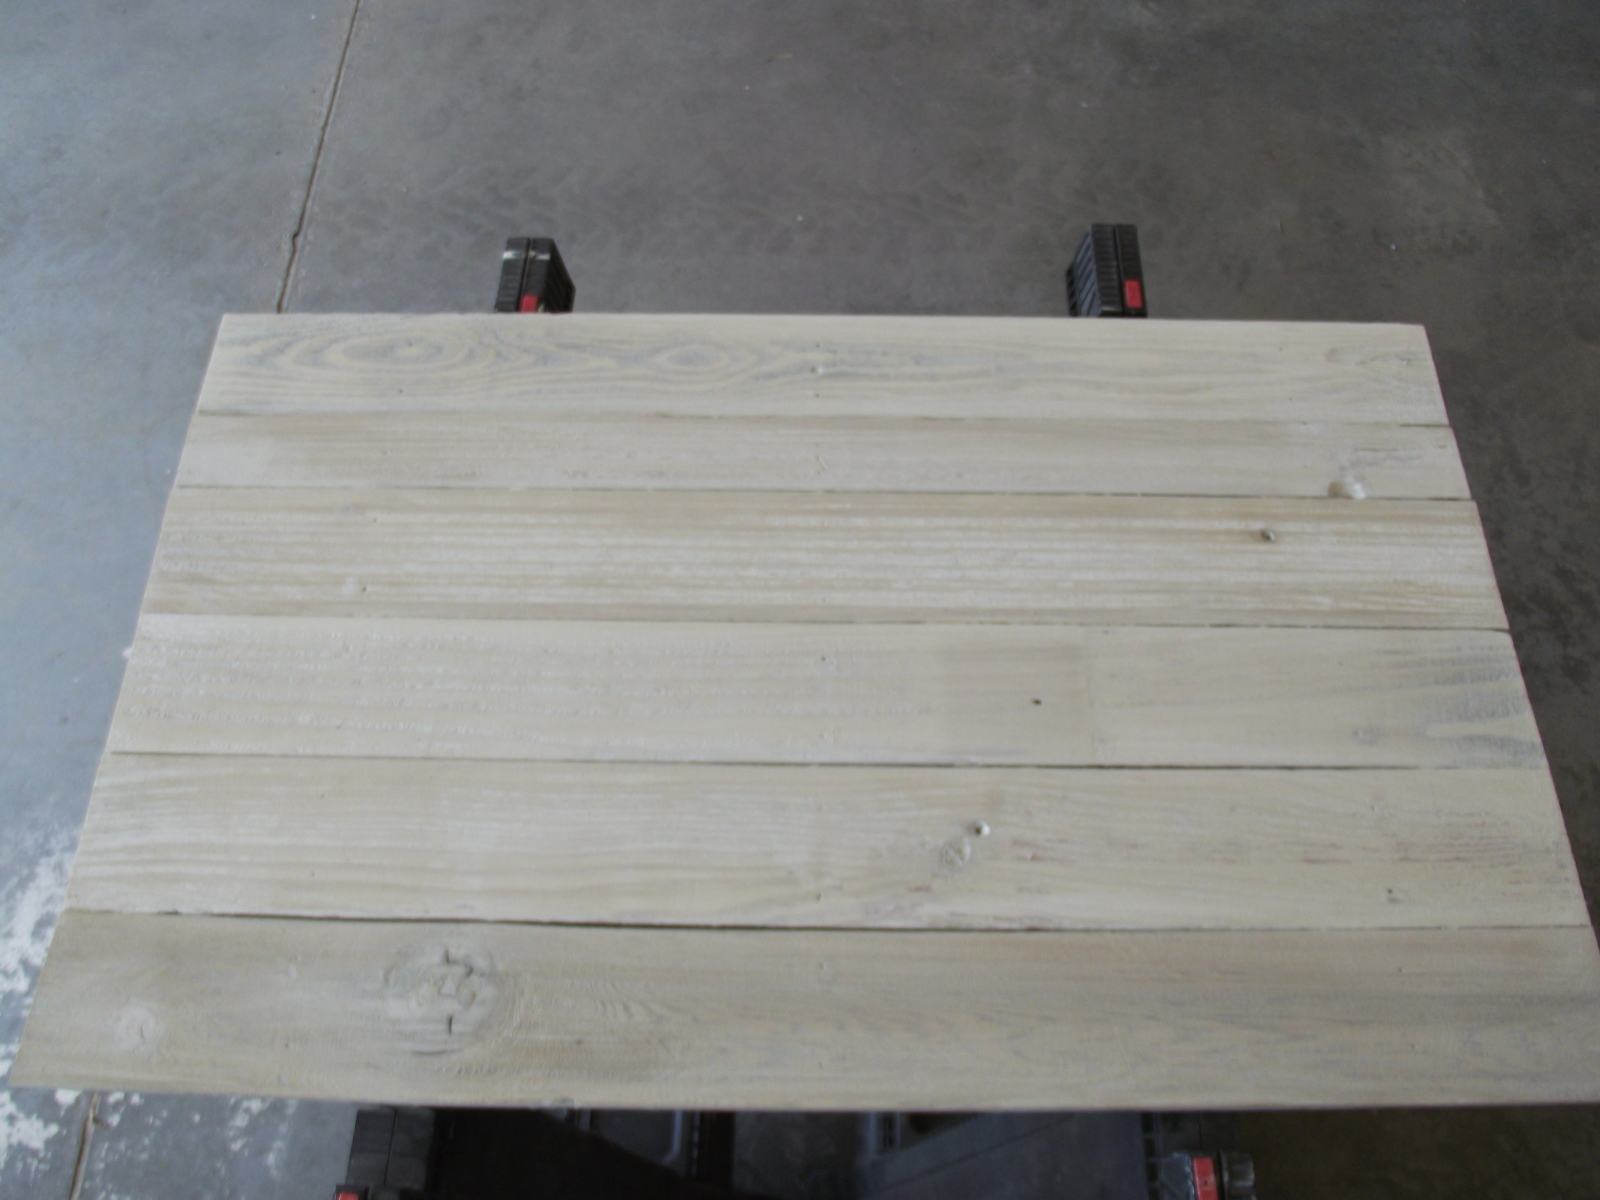
This is what he gave me. He even sanded it down for me.
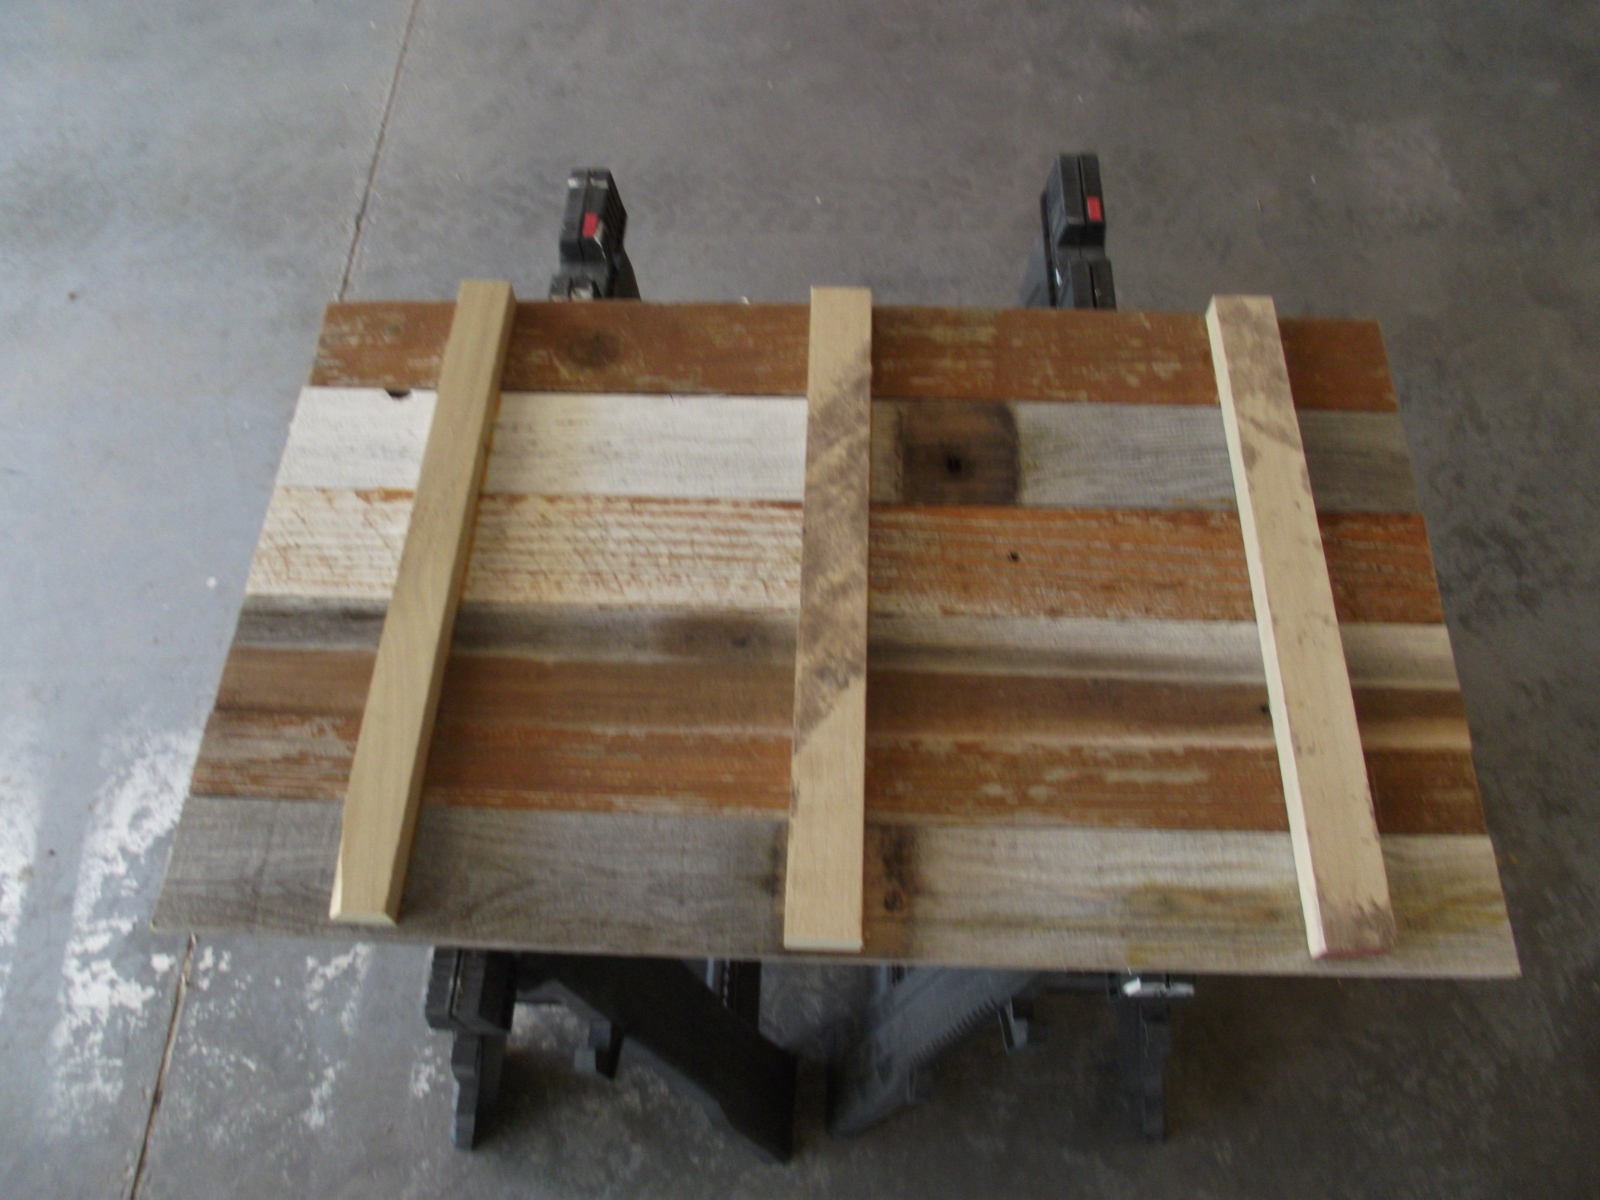
This is the back of the plank. You can see what the fence boards looked like before sanding.
This was perfect. I’ve seen the flags made out of pallets and I think they are cute but a little tacky with all the spaces and only a few stars on them. I’m not trying to offend anyone this is just my personal preference. I wanted something that looked closer to a real flag.
I started with white washing the whole board. I chose a white wash because I really liked the look of the grain of wood and wanted it to show through a little. We had some extra paint from the chicken coop my husband build a few months ago so that is the paint I used.
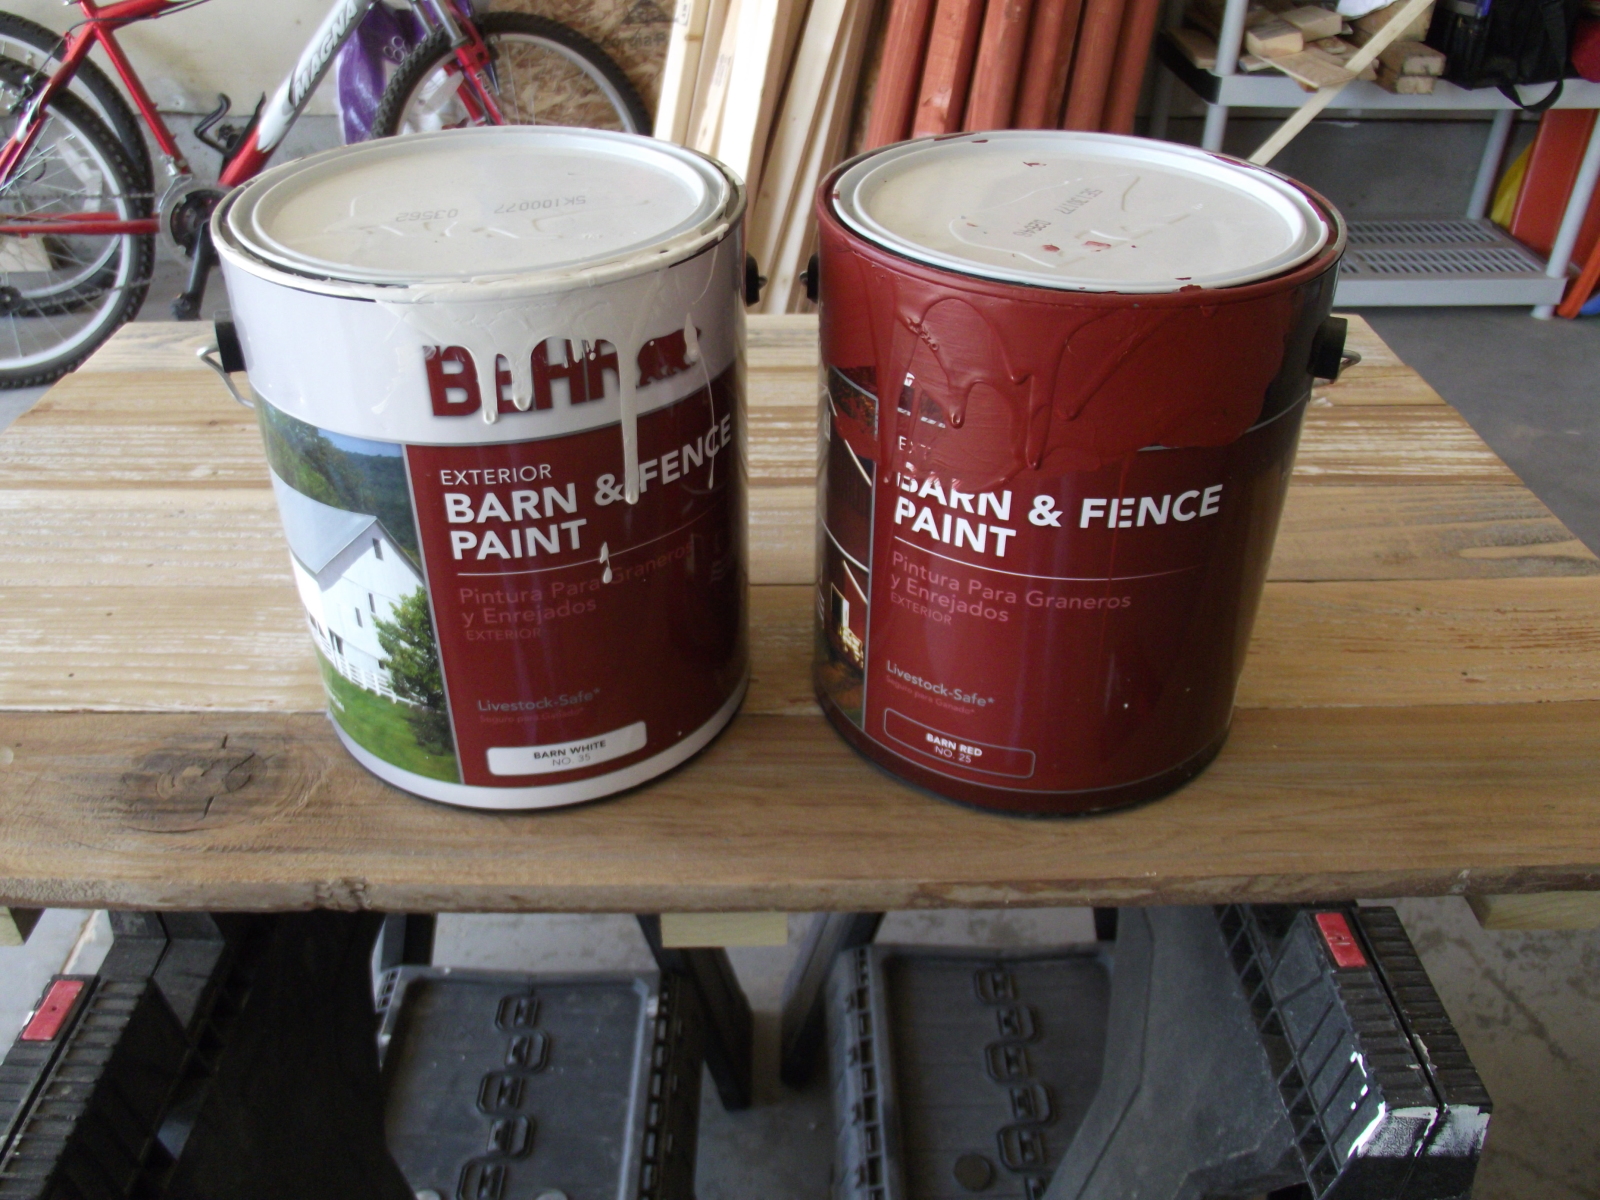
paint from the coop
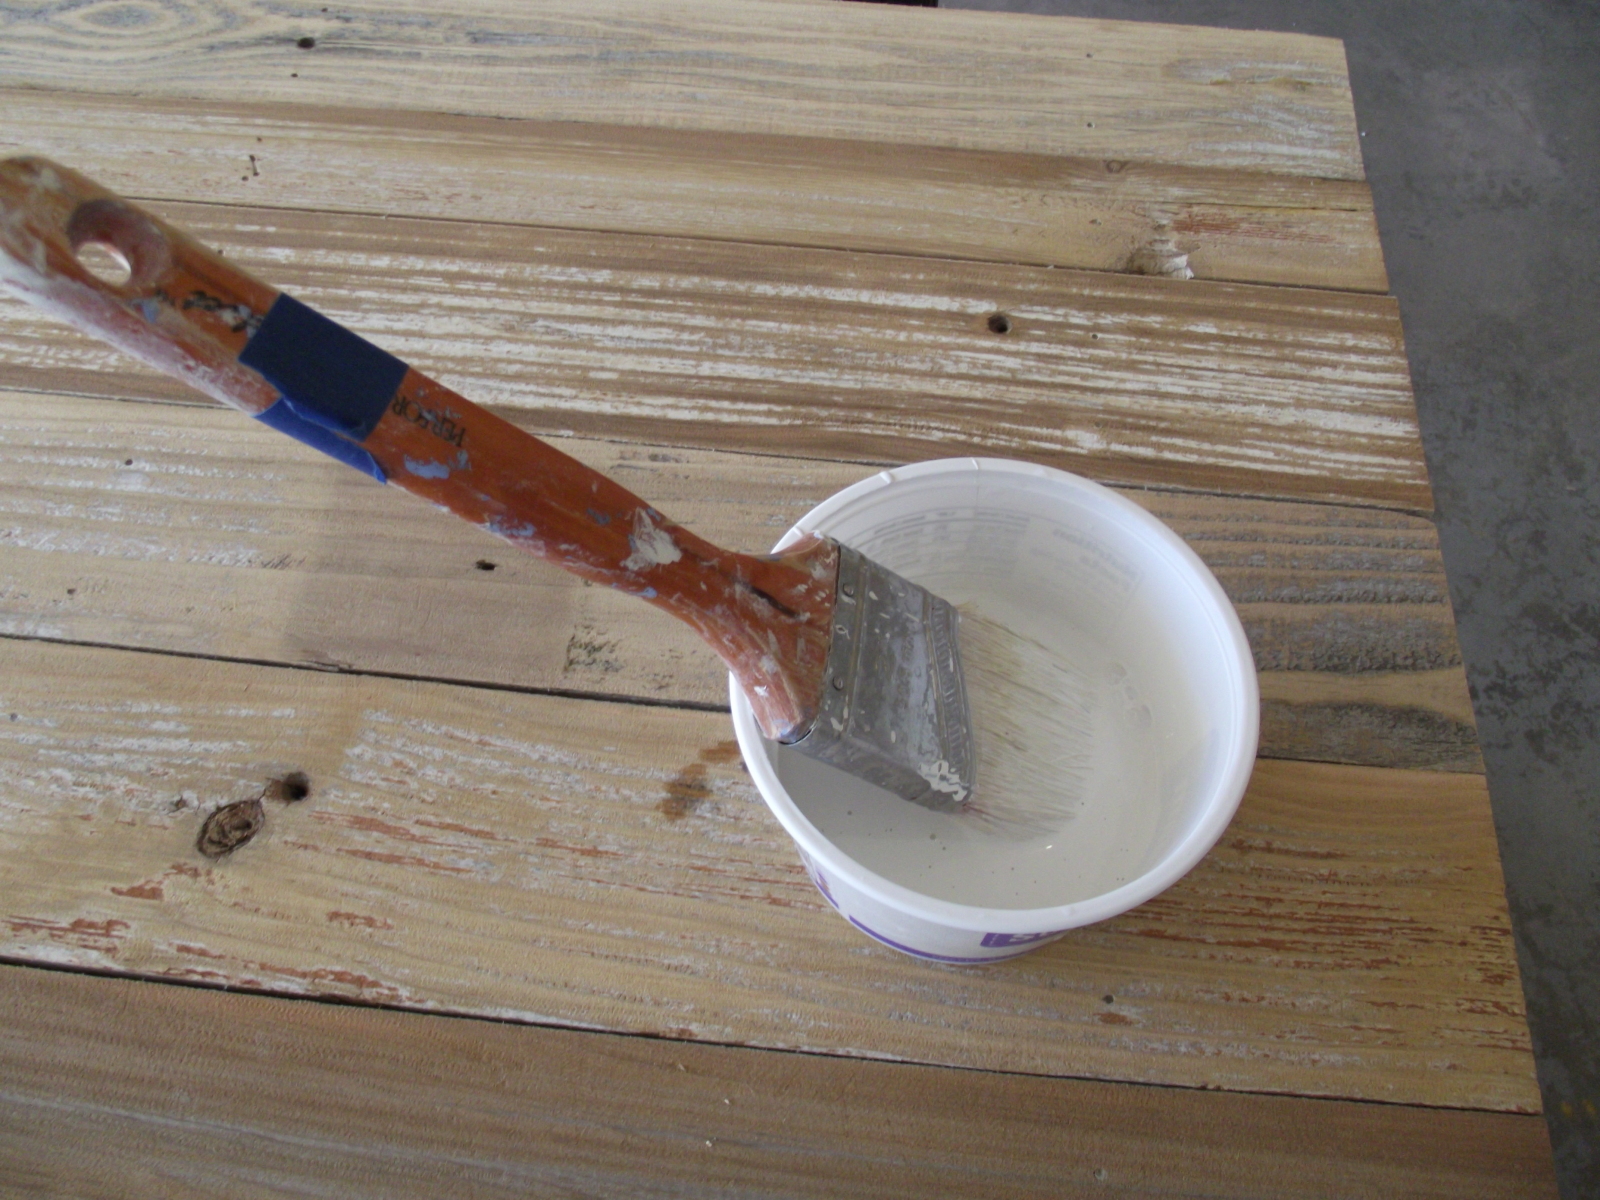
White wash. 1 part paint and 2 parts water.
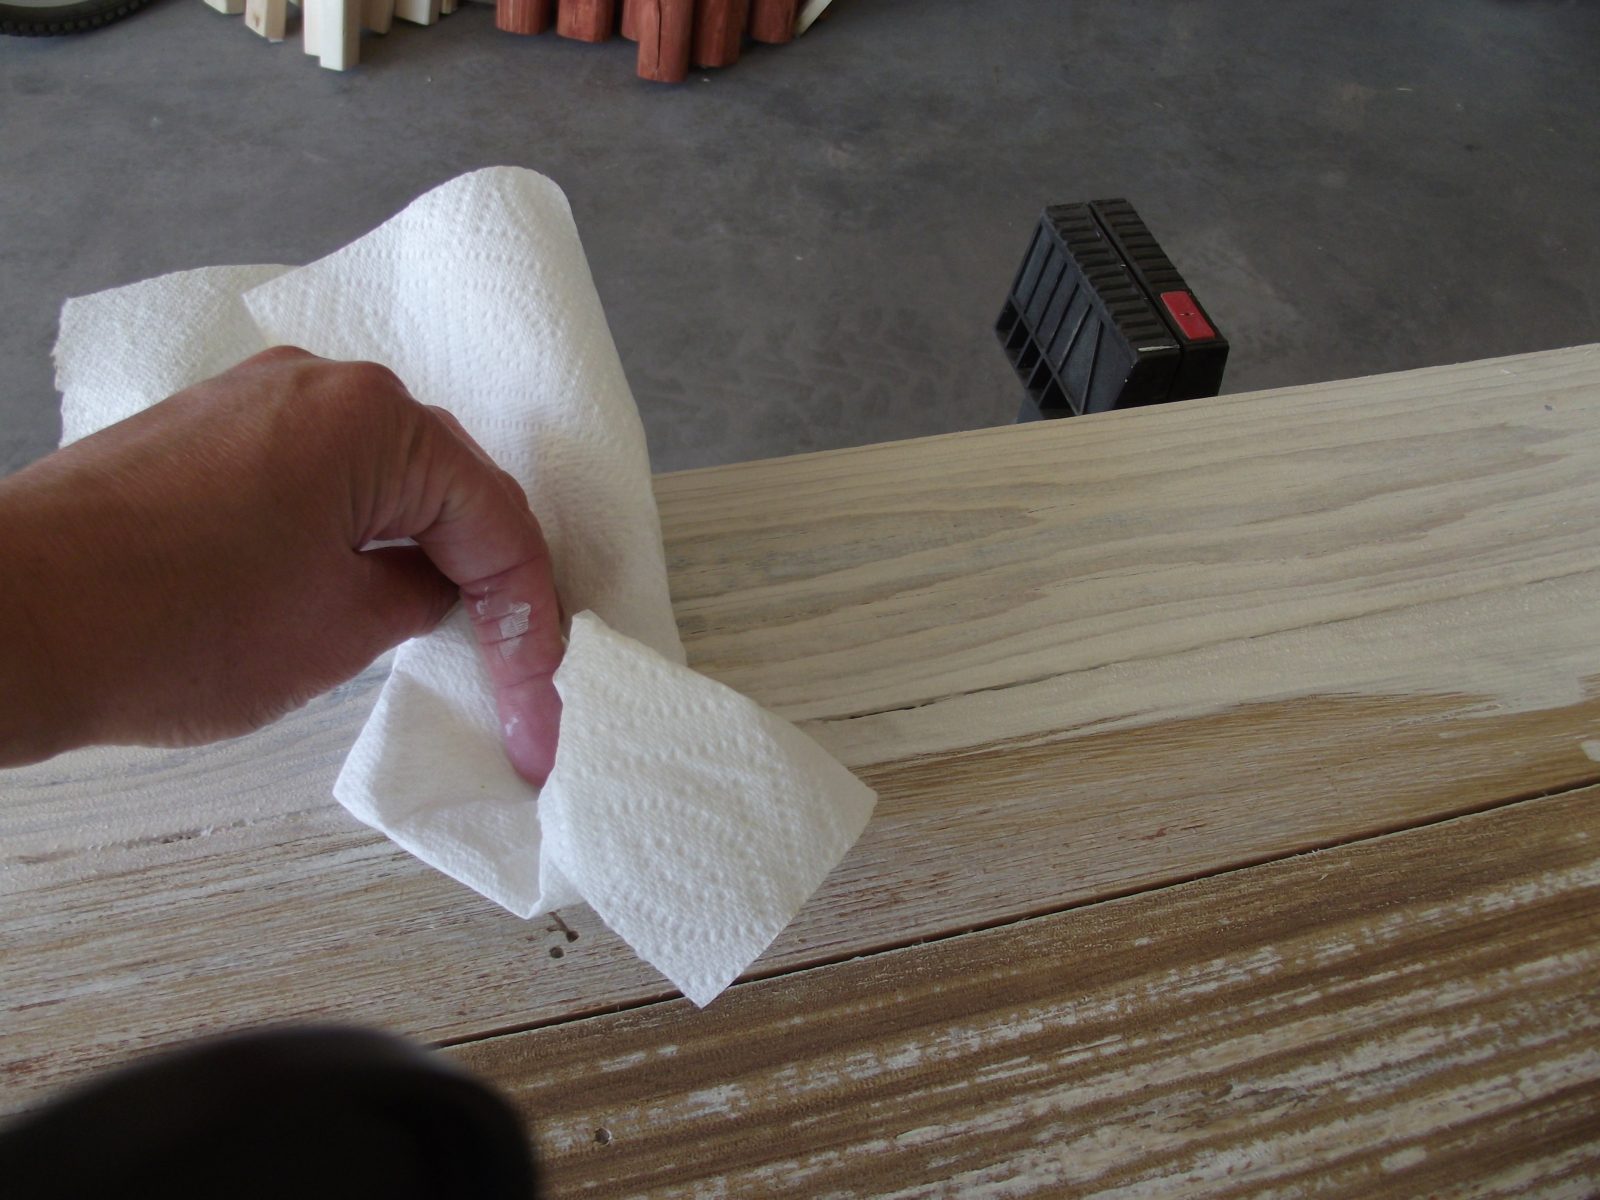
paint the board and then wipe with paper towel.
finished white washed board.
Then I cut out stars out of contact paper. I have a slice machine which made this easy. You could use a die cutter too. If you’re really dedicated you could cut them out by hand. I’ve also seen people stamp them on. I laid the stars out how I wanted them and then tediously peeled the backs off and stuck them to the board. I used a big craft stick to press them firmly on the board.
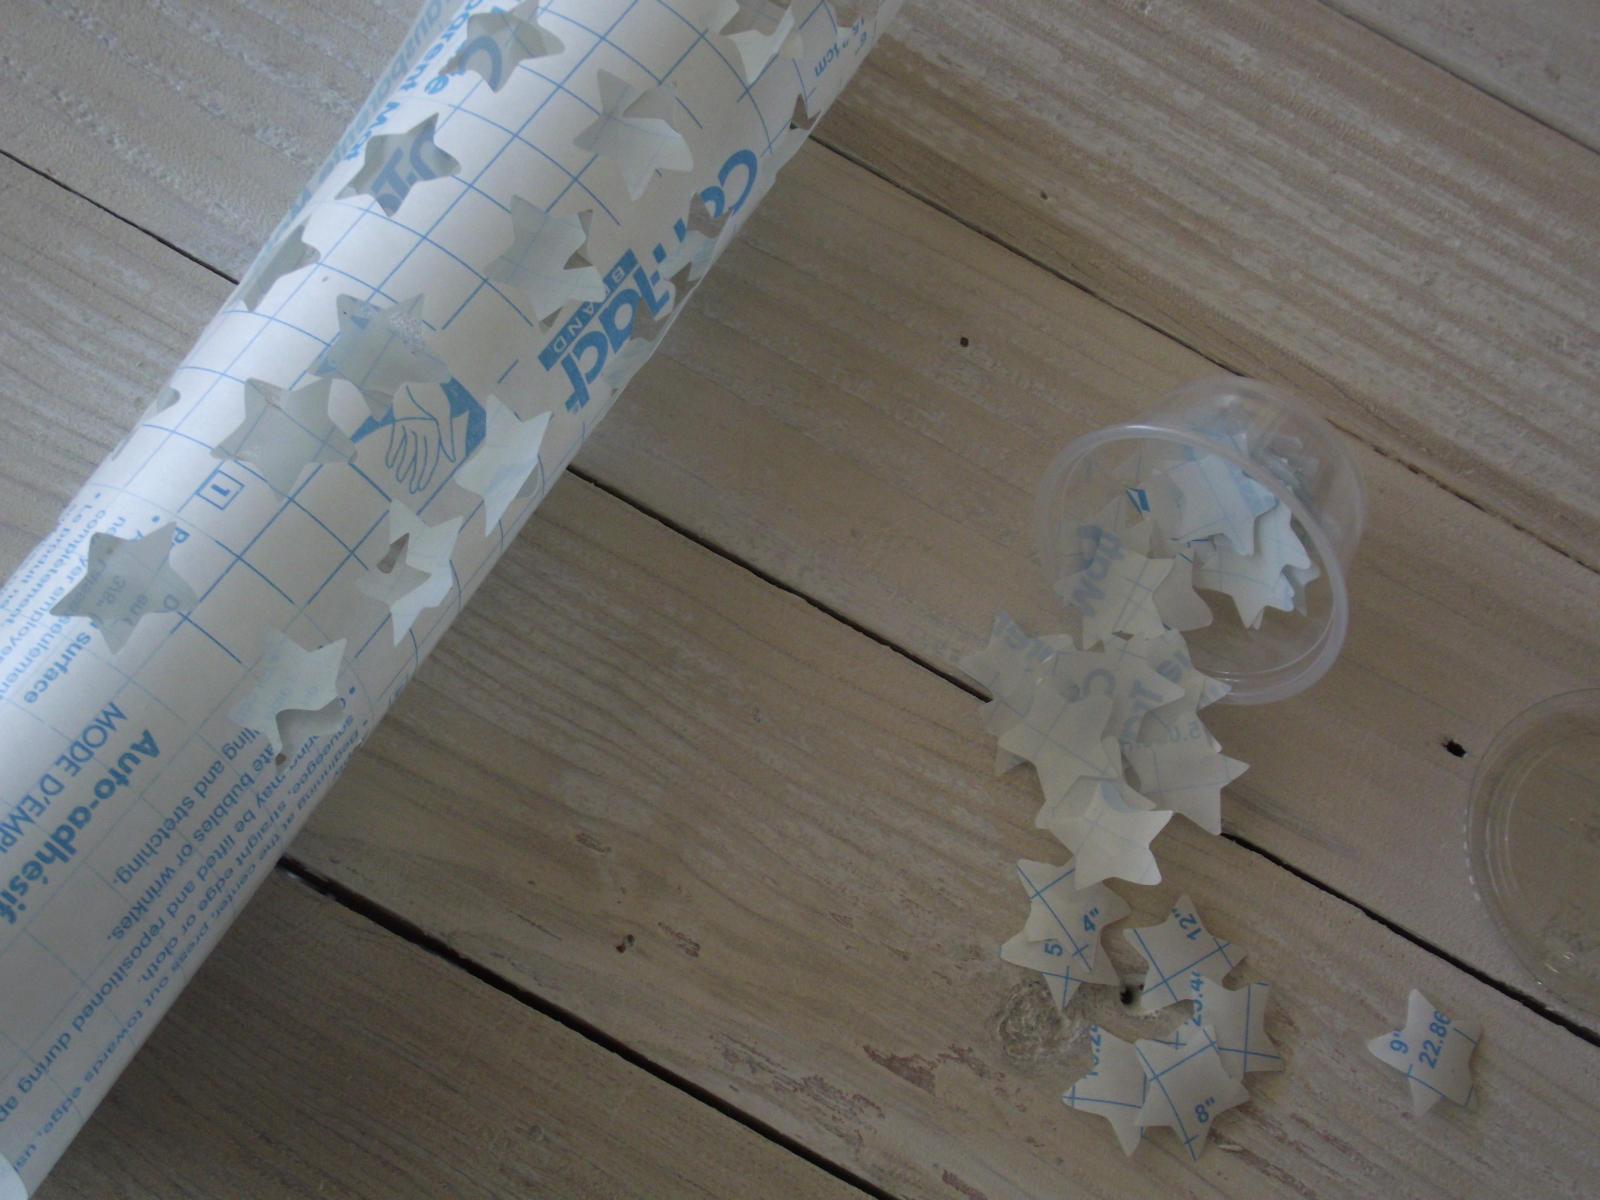
Stars cut out of contact paper

Star lay out
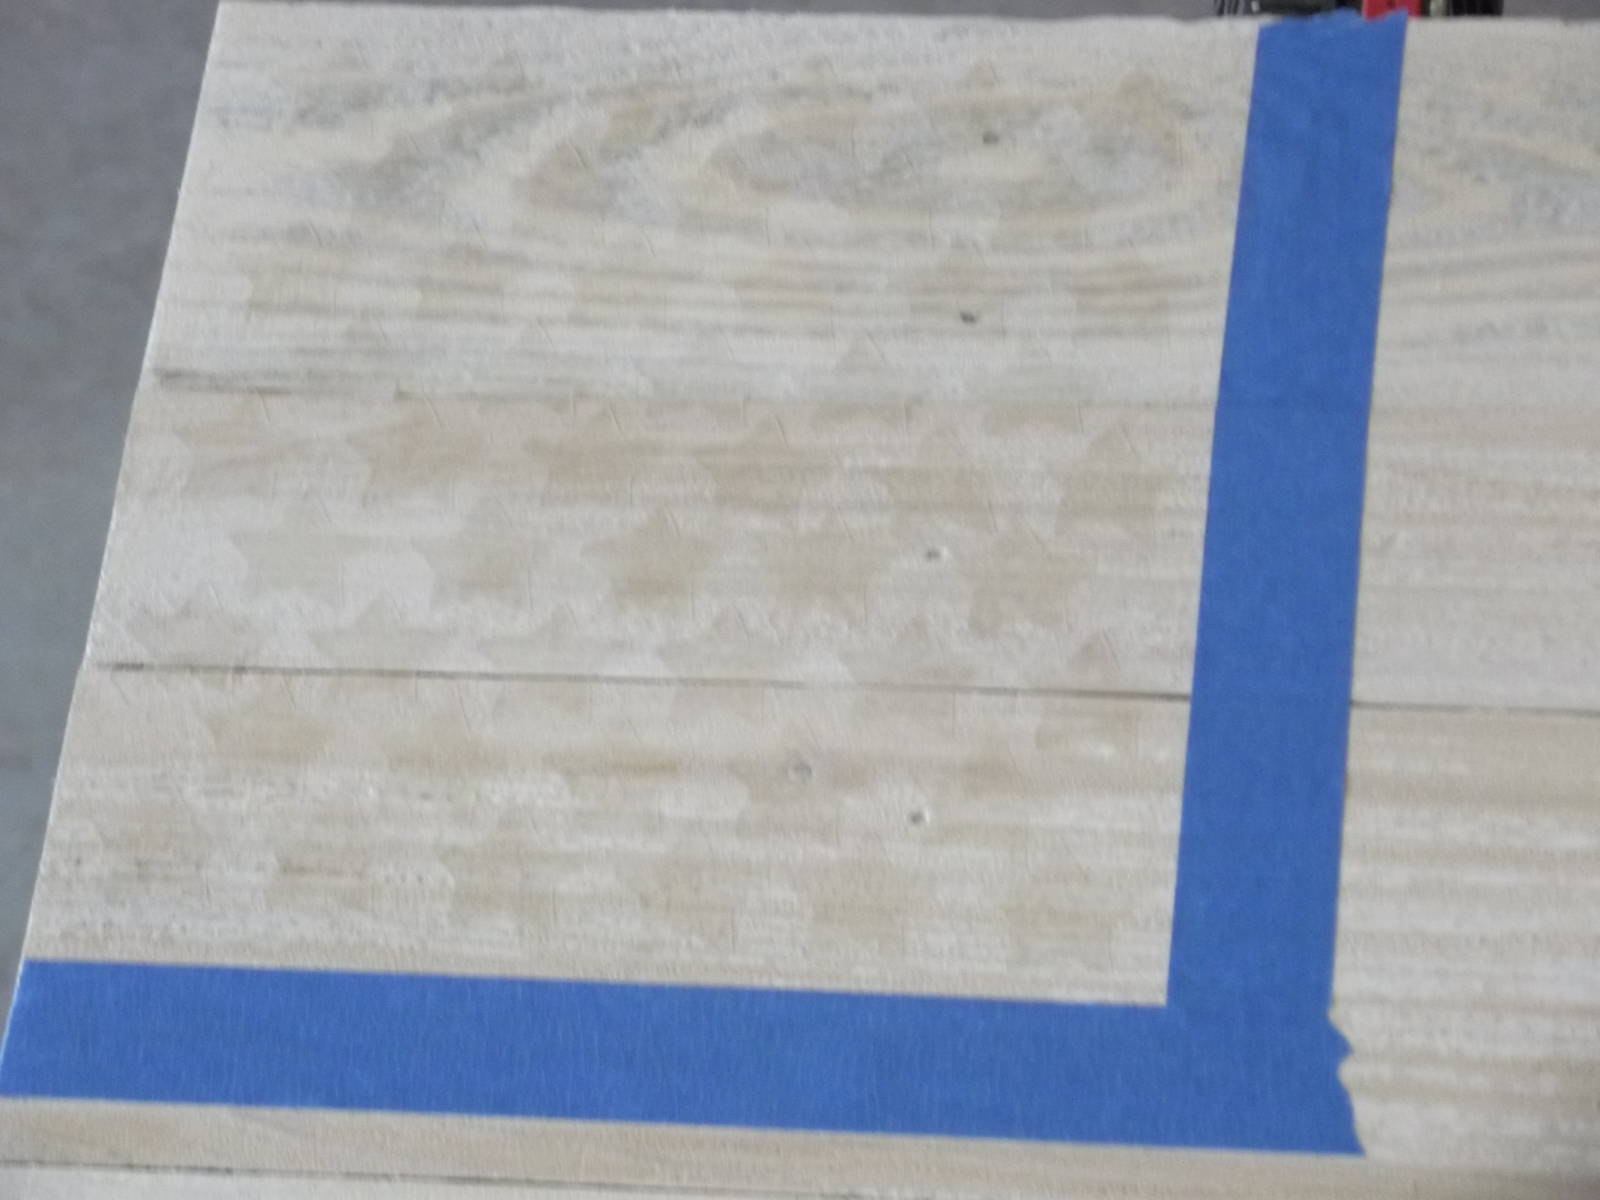
After they are applied I taped a boarder.
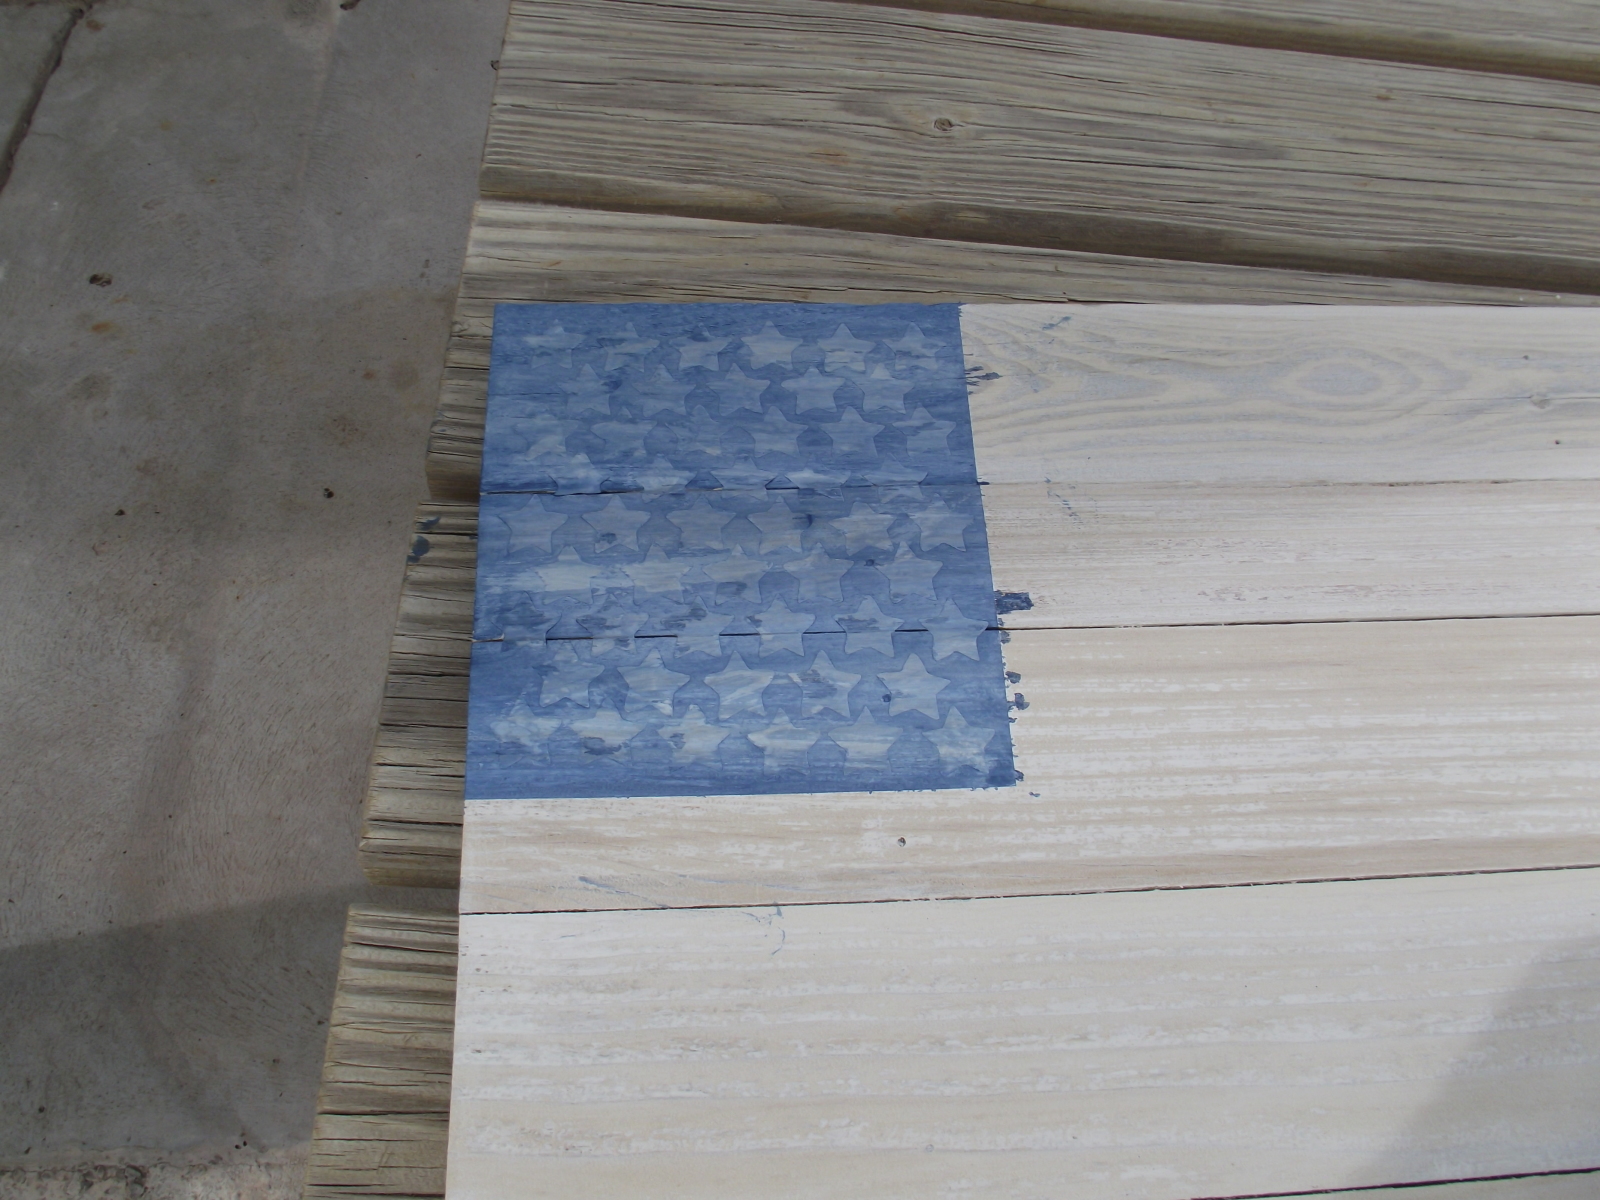
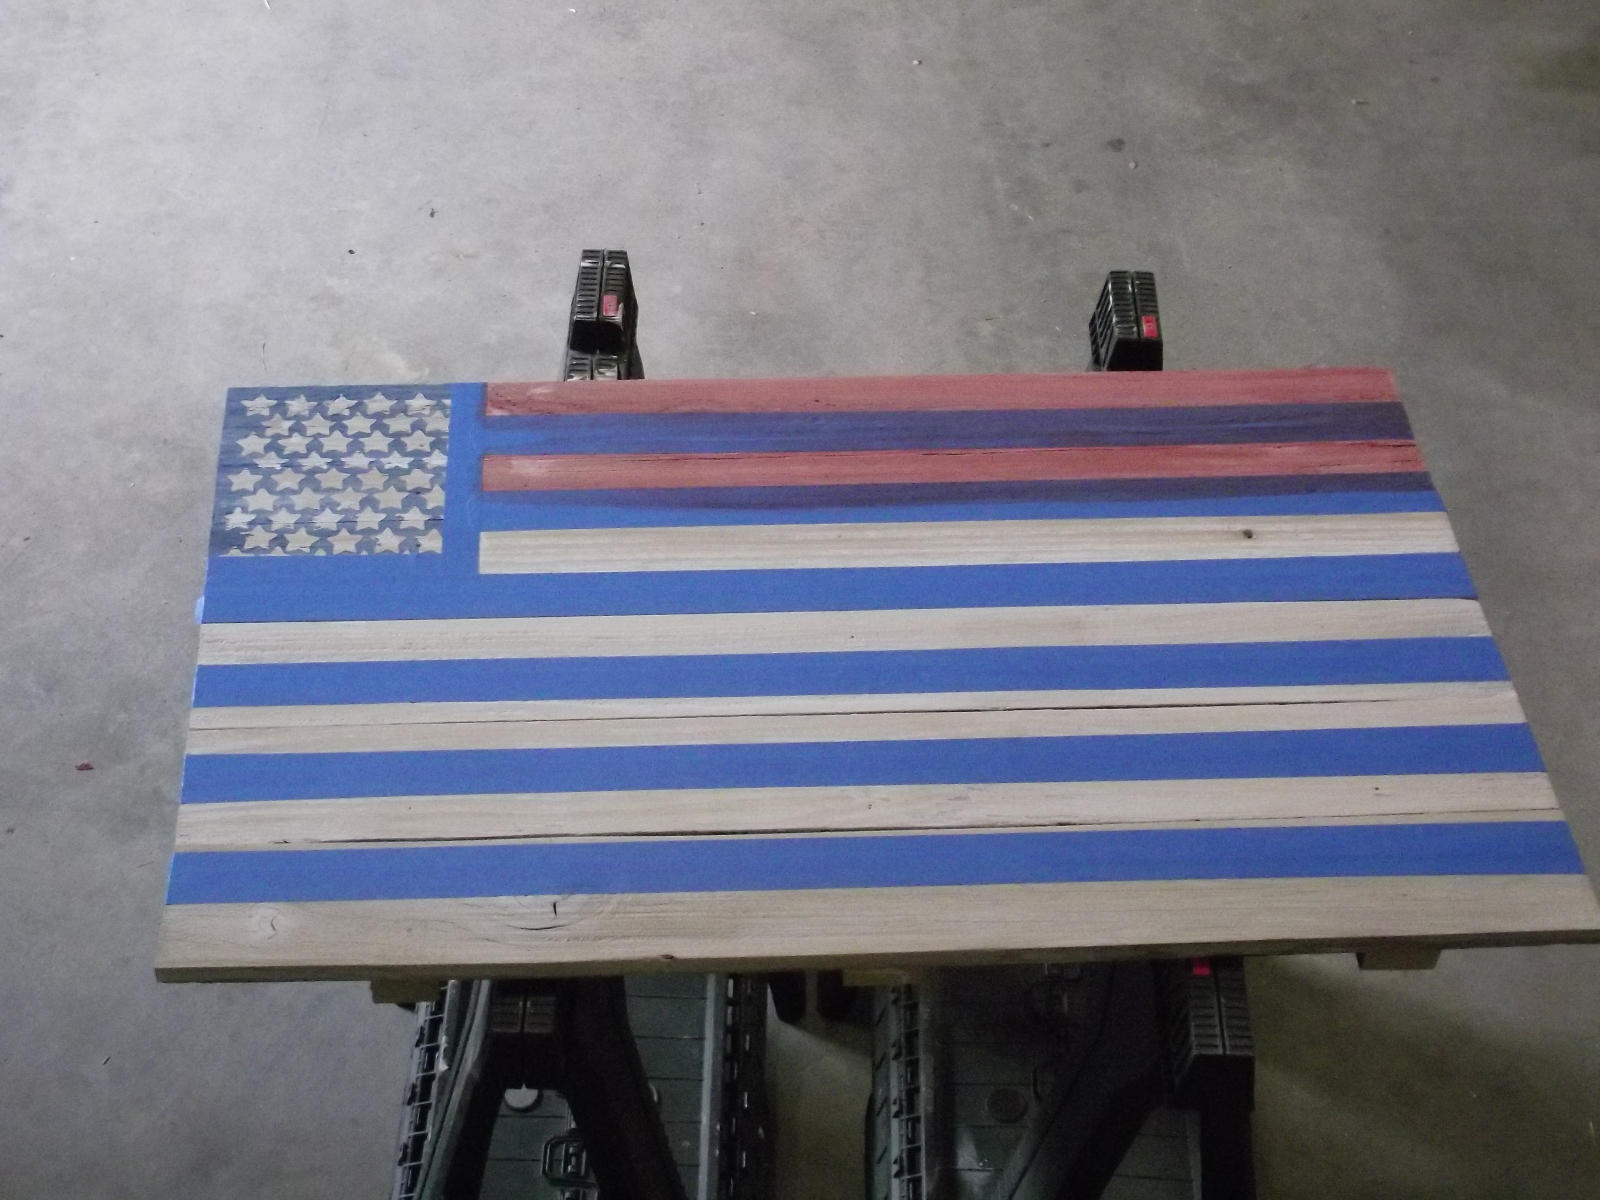
Next I went to home depot and got a sample can of dark blue paint for under $3. I did a wash on this paint too. 1 part paint to 2 parts water. I then applied it and wiped it off with a paper towel. I did this a couple of times until I got the look I wanted. I then waited for it to dry and took the stars off and the tape.

After I applied the blue paint.
After I took the boarder tape off.

After I took the stars off.
The blue paint bled a little into the white so I touched up a little with some white paint. My son thought I should leave a little of the blue paint on the stars because it gave it a rustic look so I did. Next I had to tape the border around the blue again to allow the red stripes to touch the blue. I measured and taped the 13 stripes. My planks height was 19 1/2 inches which made a nice 1 1/2 inch stripe for 13 stripes.
I used a wash on the red paint too. Again 1 part paint to 2 parts water. I did a couple of coats.
After it dried I took the tape off and Voila it was done. The red bled somewhat into the white. I left it because I wasn’t that picky about it. It kind of left it looking a little rough. Over all I like how it turned out. Now I have a little decoration for the 4th of July!

After I took all the tape off.
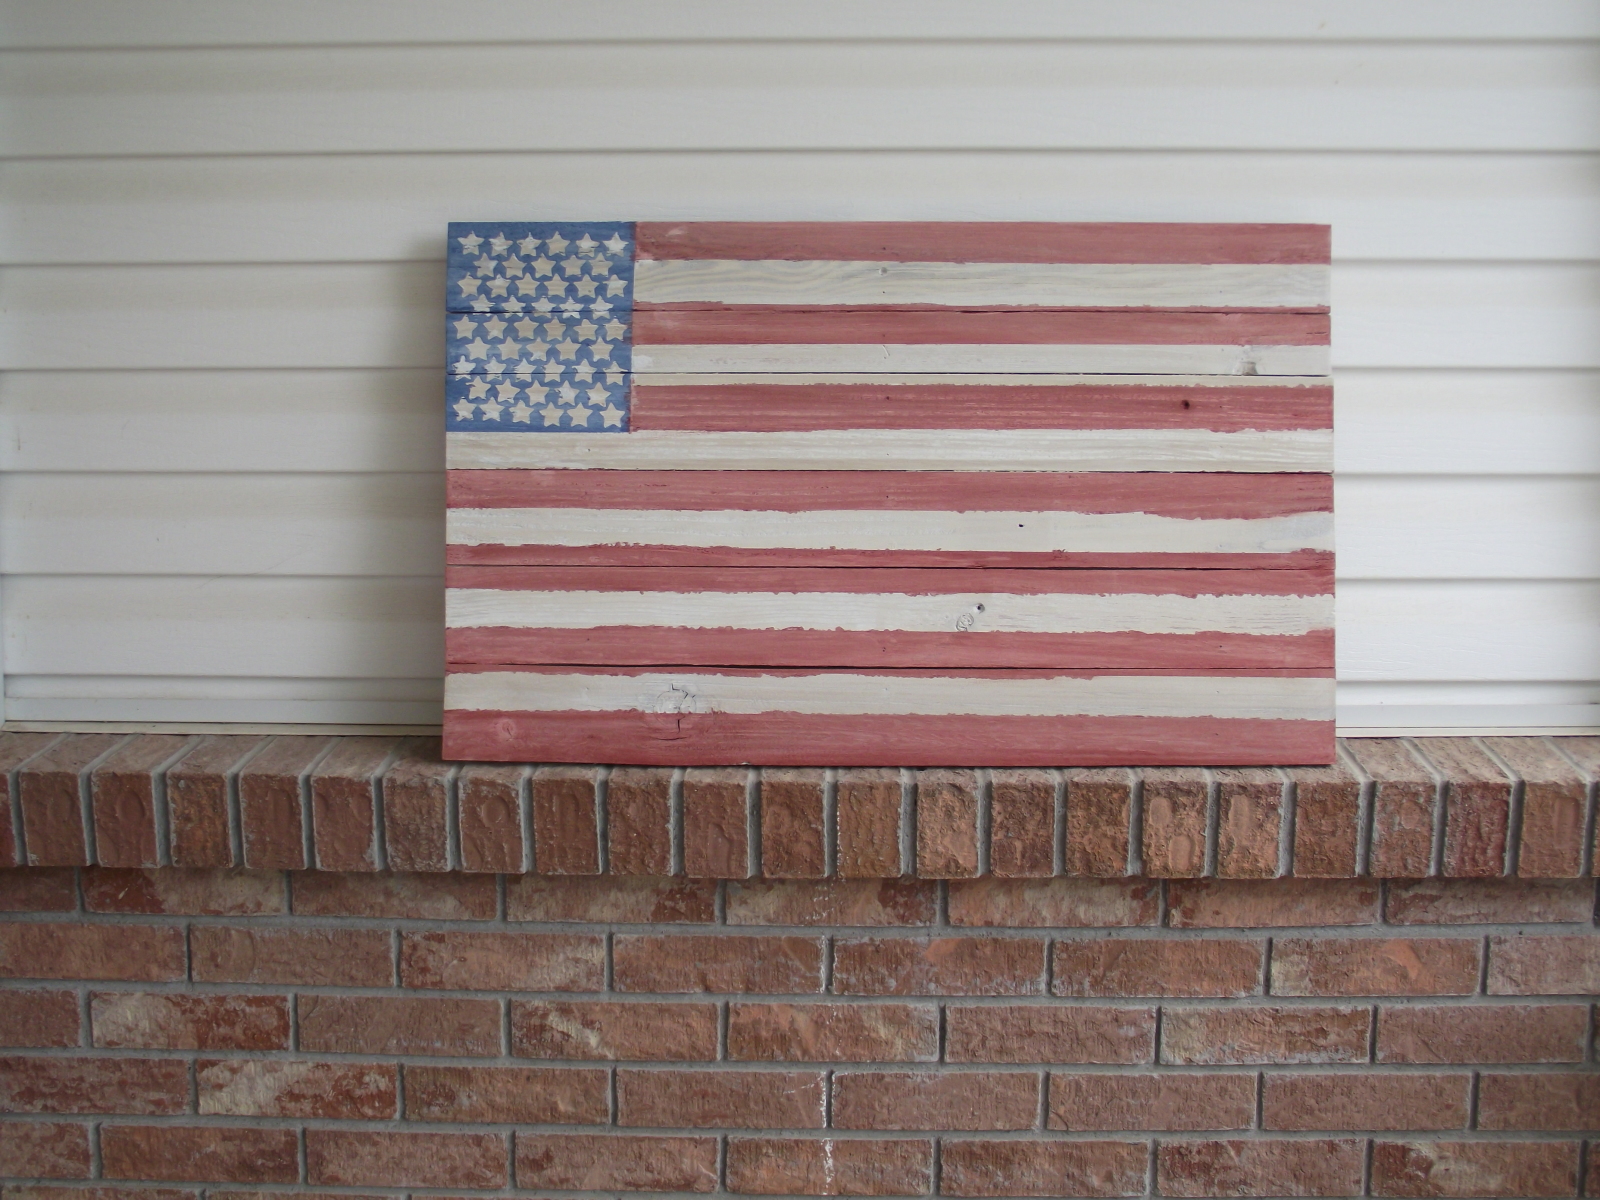
Finished flag.

What a great use out of old fence boards!