This morning we left for a fun adventure with our 10 and 11 year old activity day girls. I was called to activity days last September. I was so excited to get to hang out and teach these girls. This has to be one of the best church callings I’ve ever had. We decided since summer is here we could try and do some fun activities with these girls. So today we hiked the Menan Buttes. I love these girls all there silliness and craziness too. We had a ton of fun and the view was spectacular. I hope the girls enjoyed it as much as I did. Mary and I also took our own girls with us and they had a fun too. Oh and there may be a rumor going around that I got lost on the way home. I may or may not have taken a wrong turn in the tiny city of Menan. The girls had fun using my phone to navigate me back to the right road.

Before the hike picture.
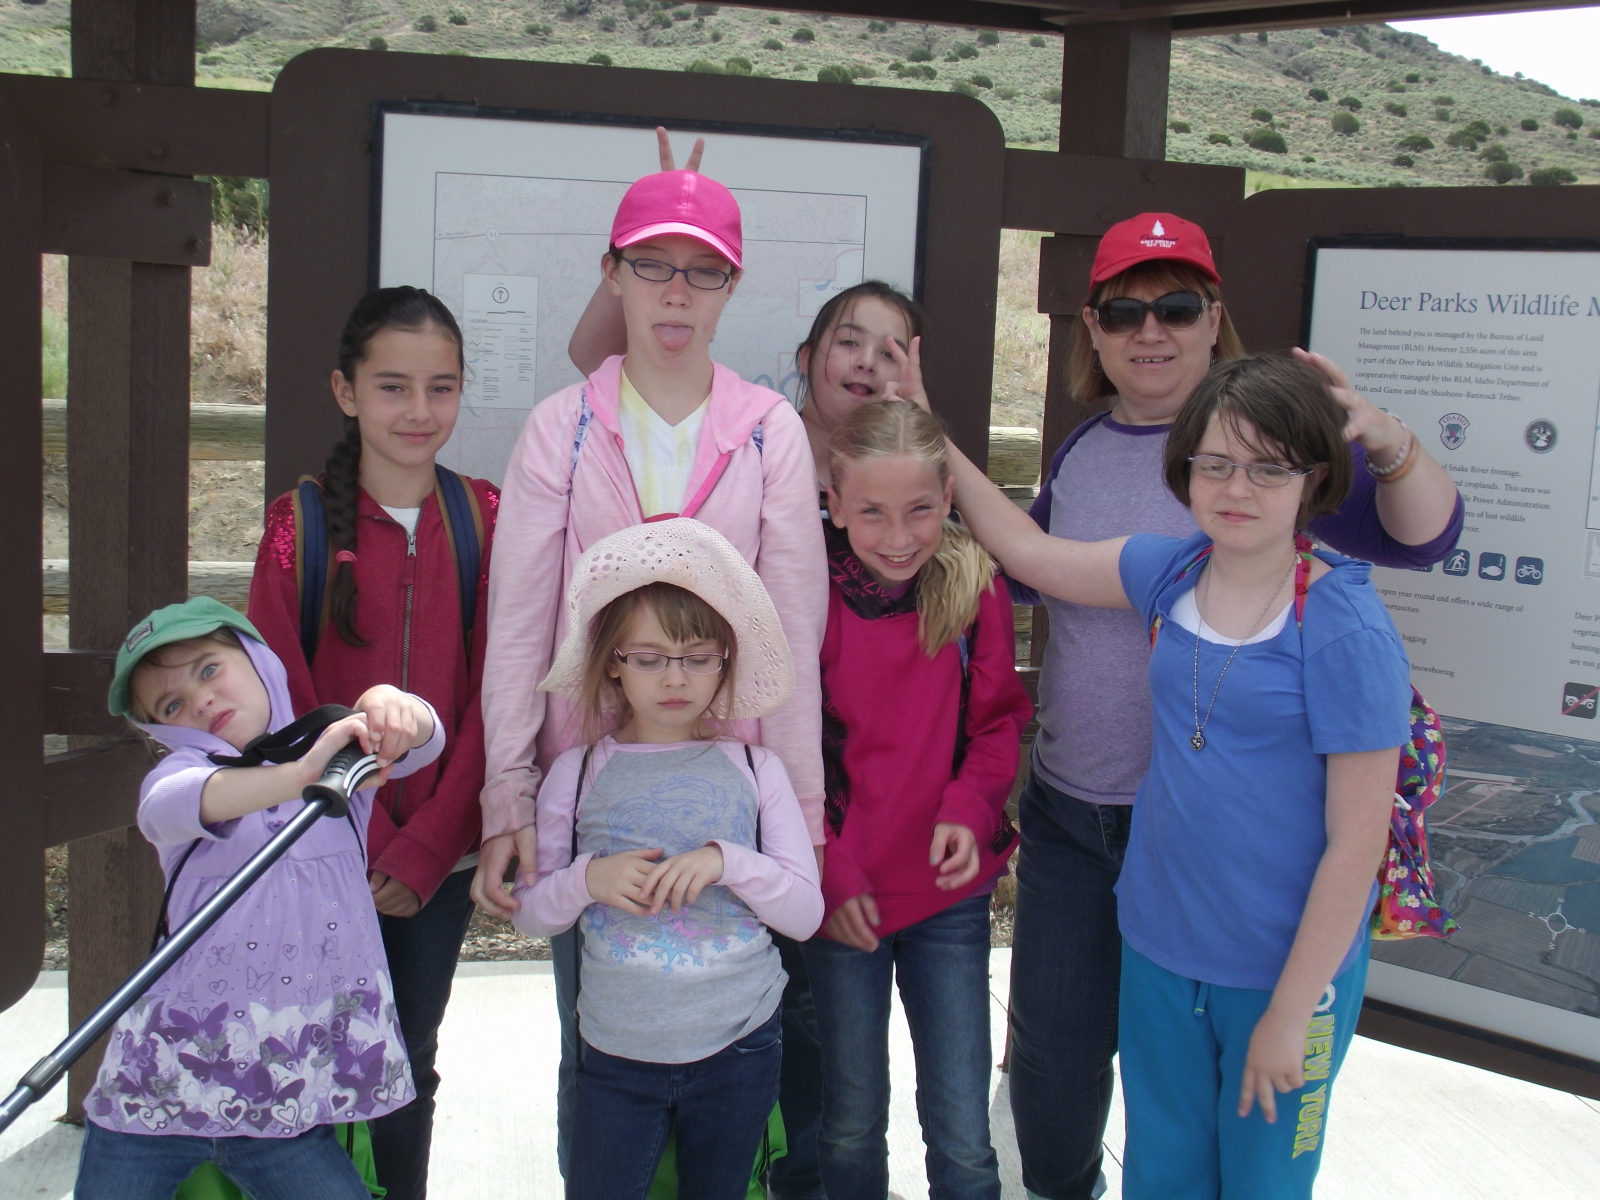
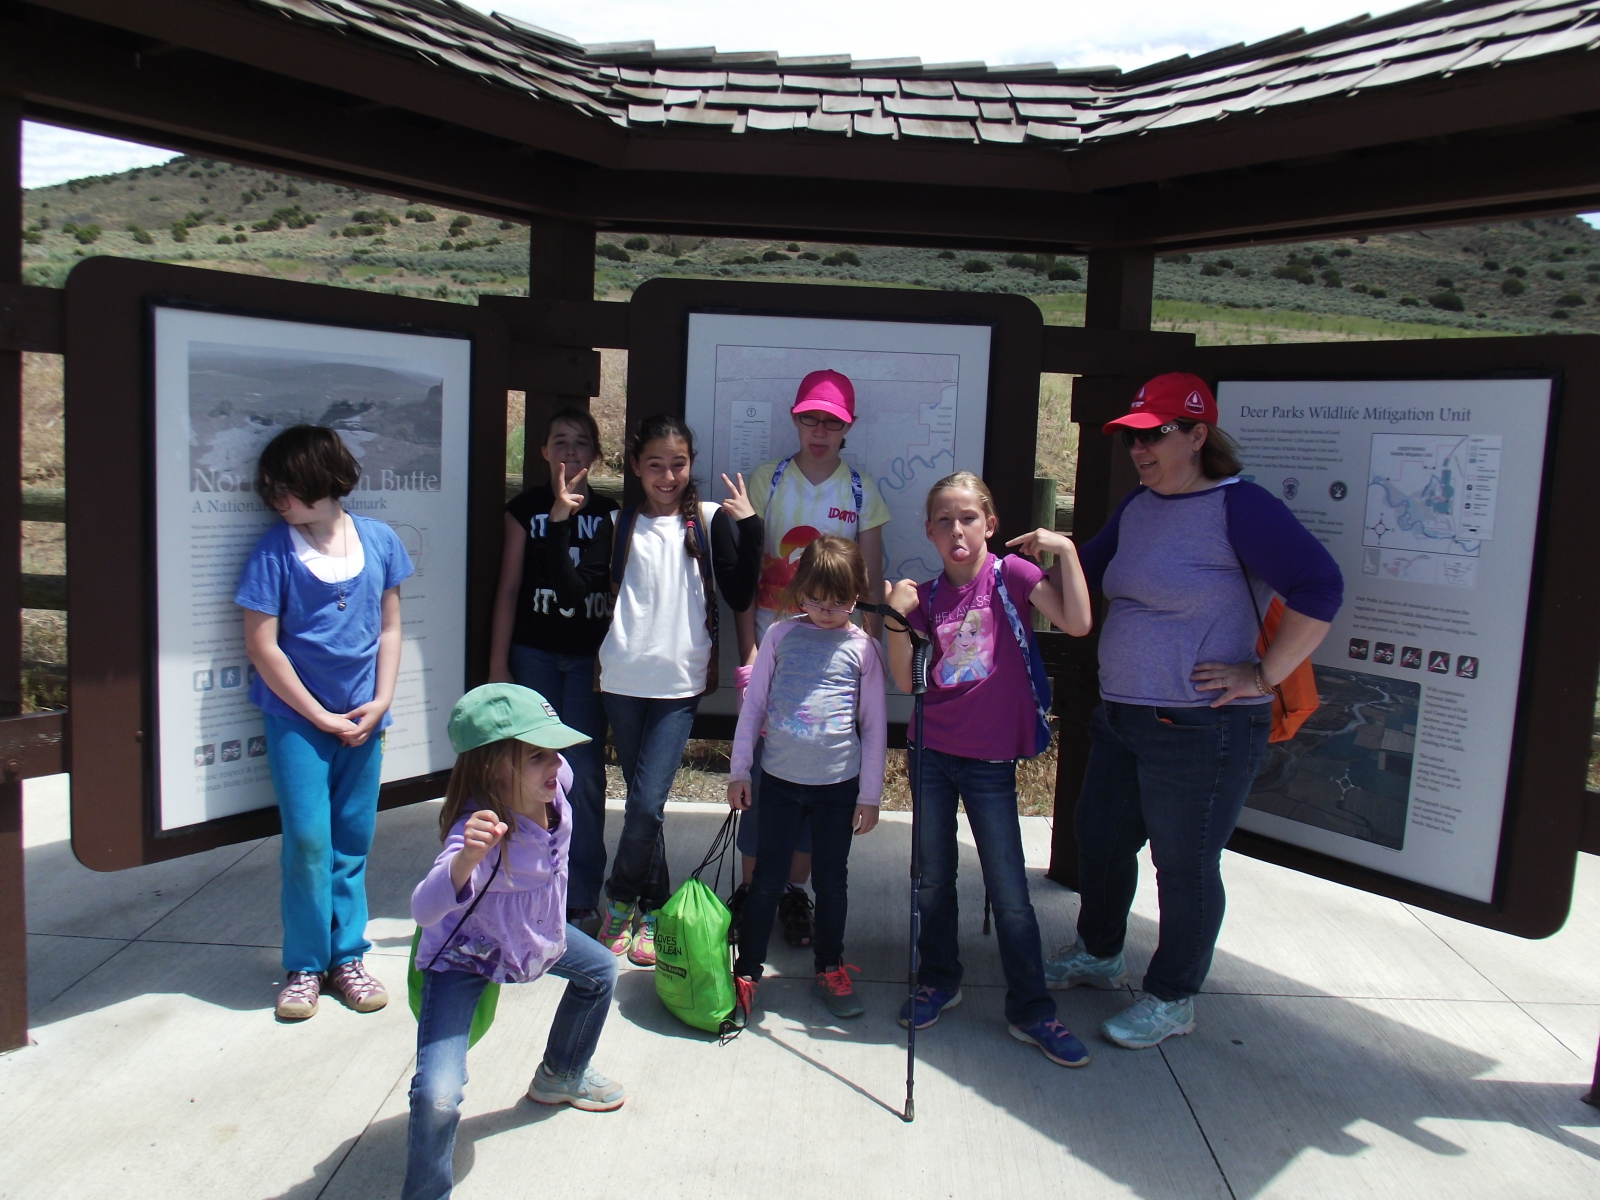
Silly picture

Just the beginning of the hike.

Aren’t these guys the cutest!

Another silly picture.
Mary and I were behind and when we got closer we could here the girls pretending to cry and whine. So funny I had to snap a picture.
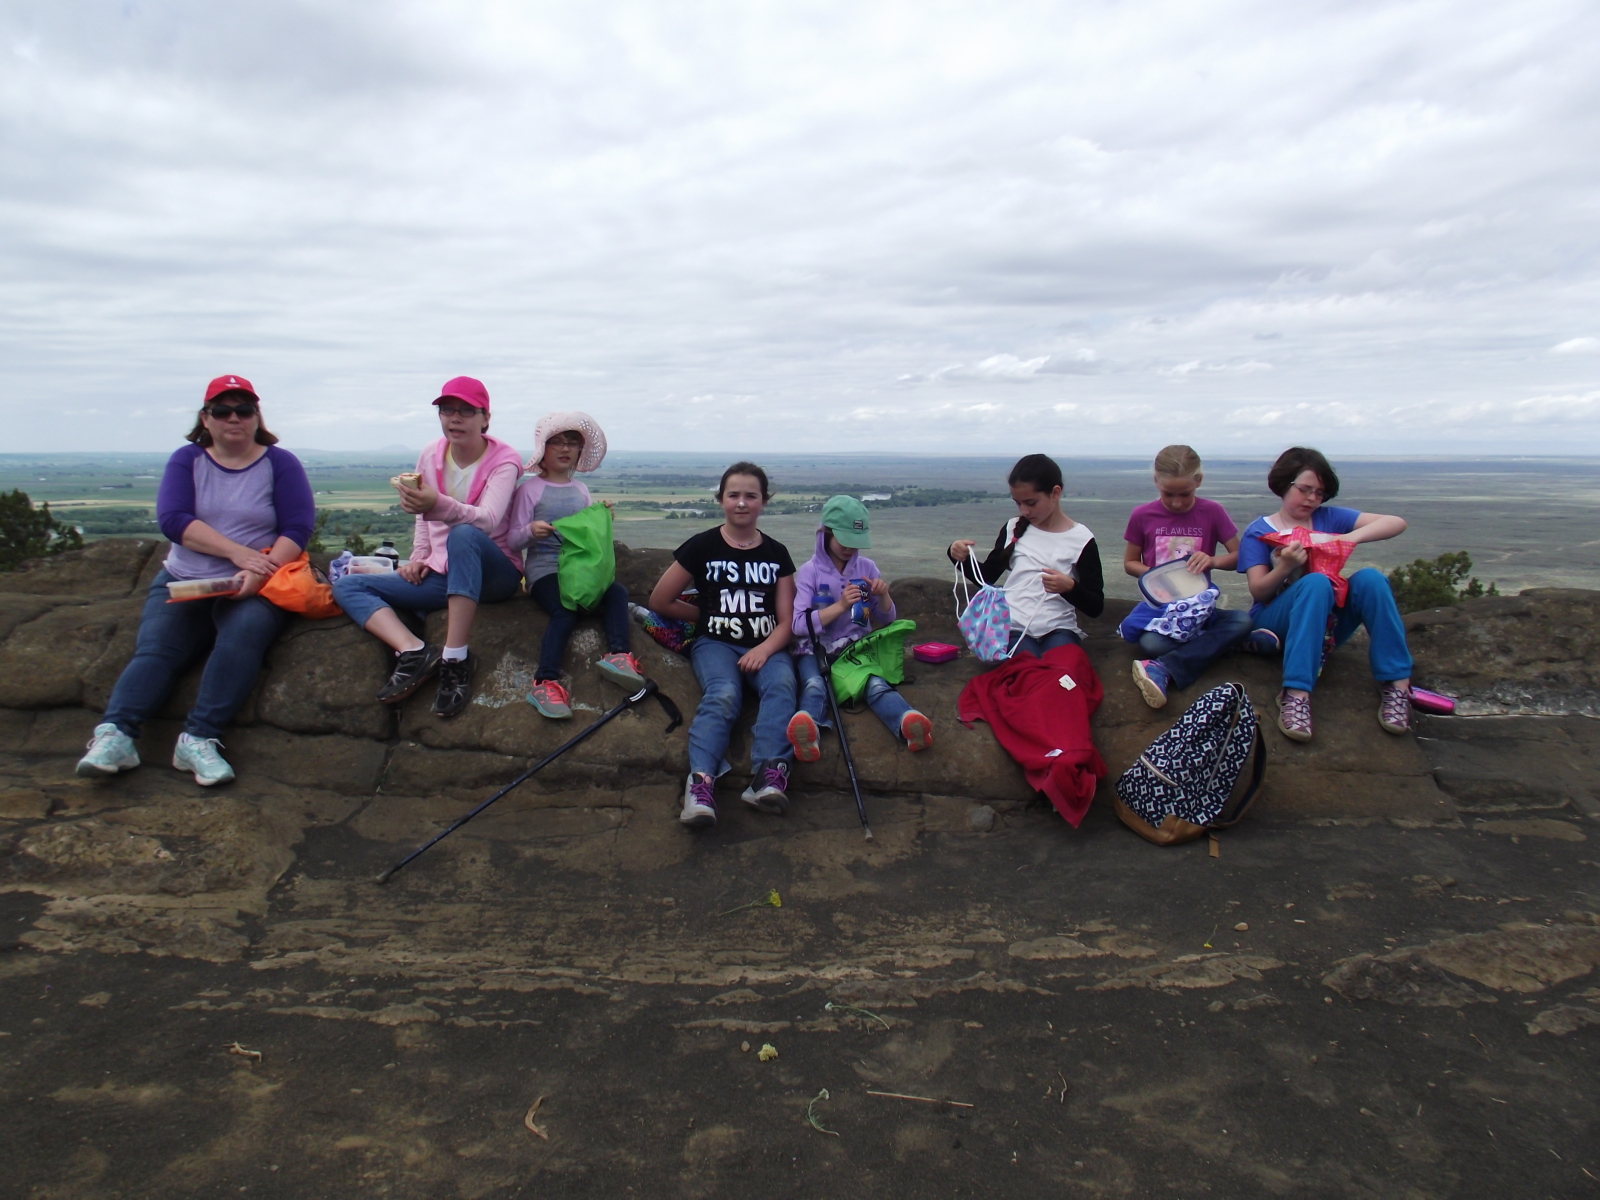
Eating lunch at the rim.
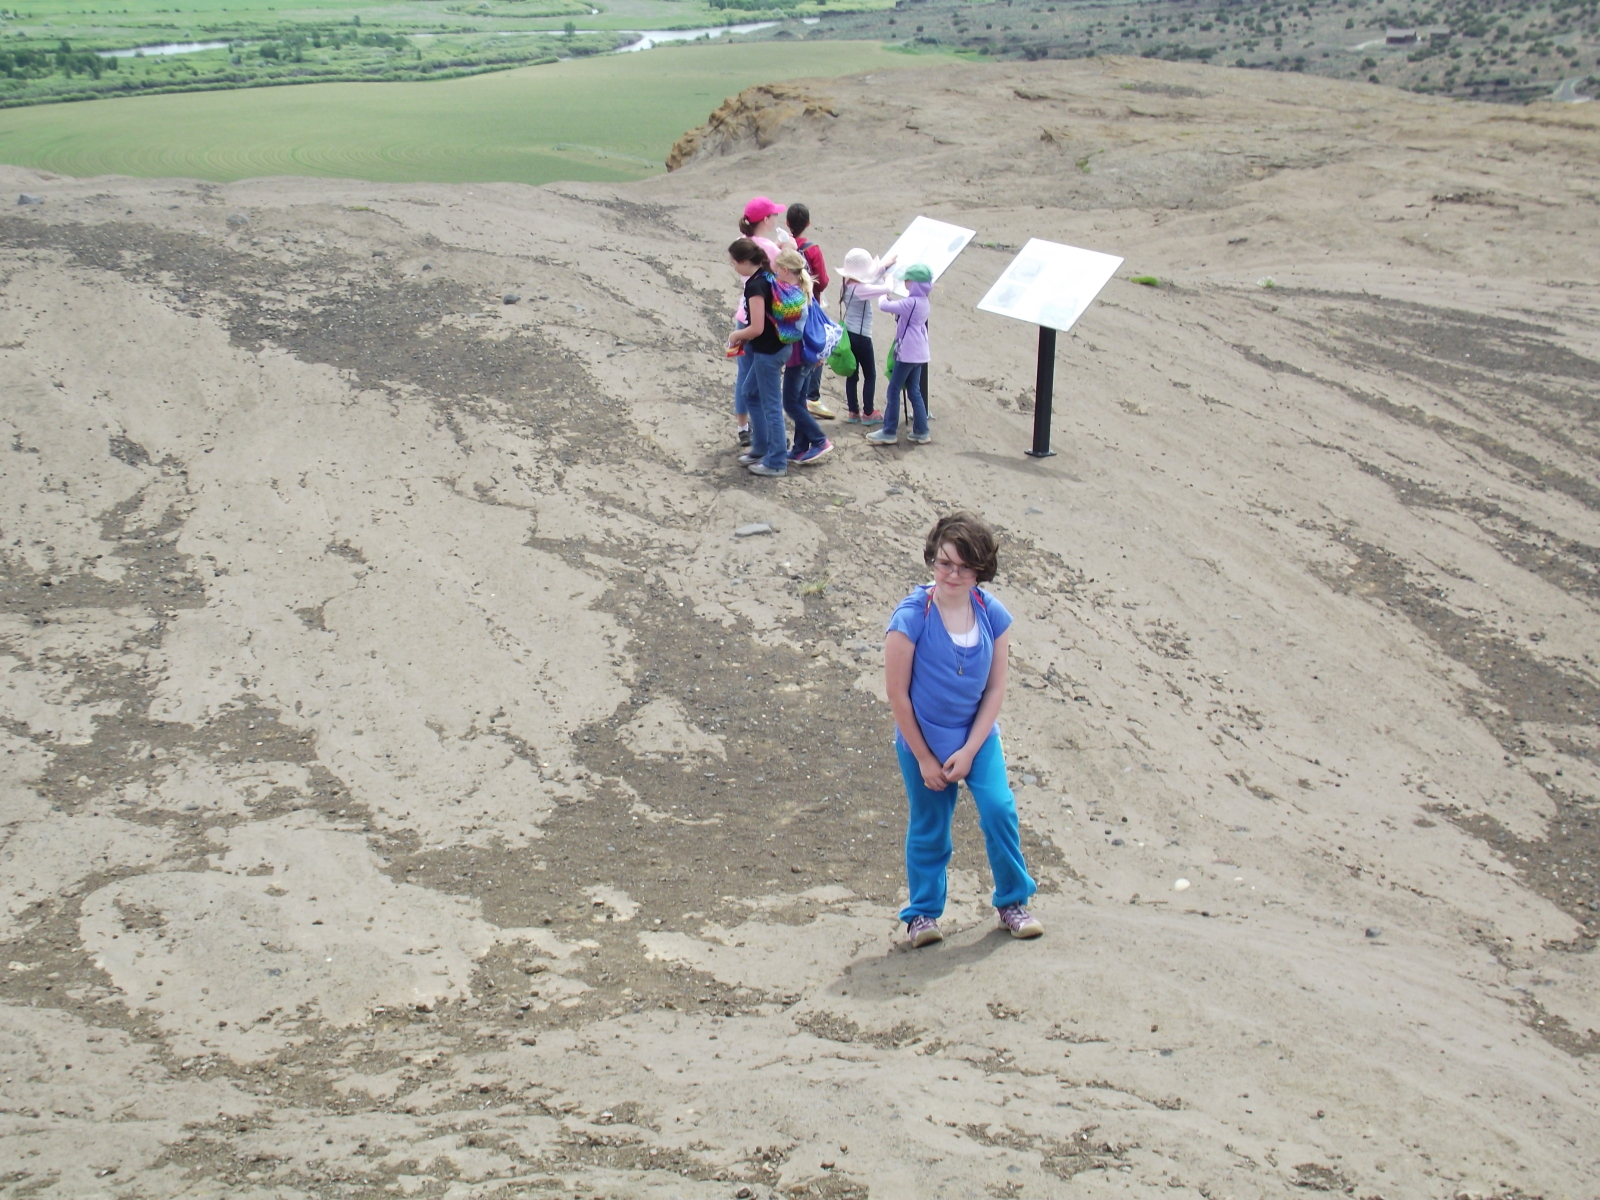
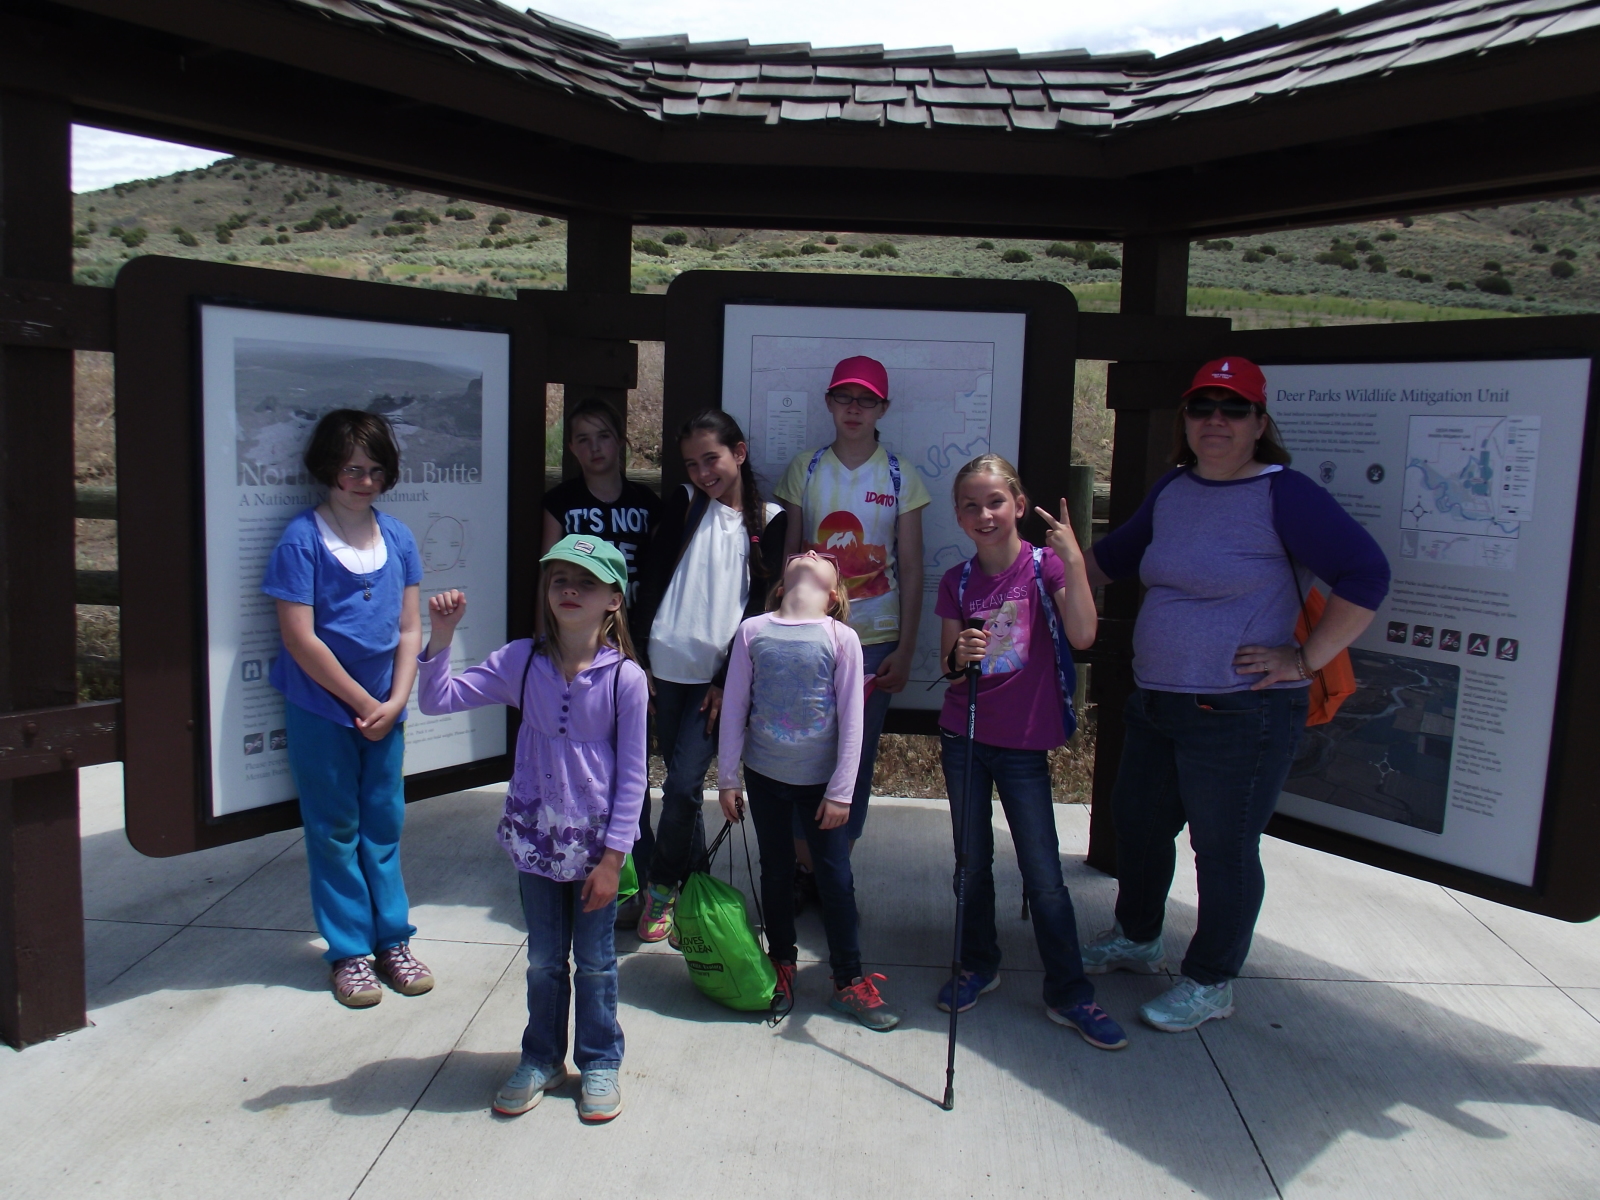
reading the signs.
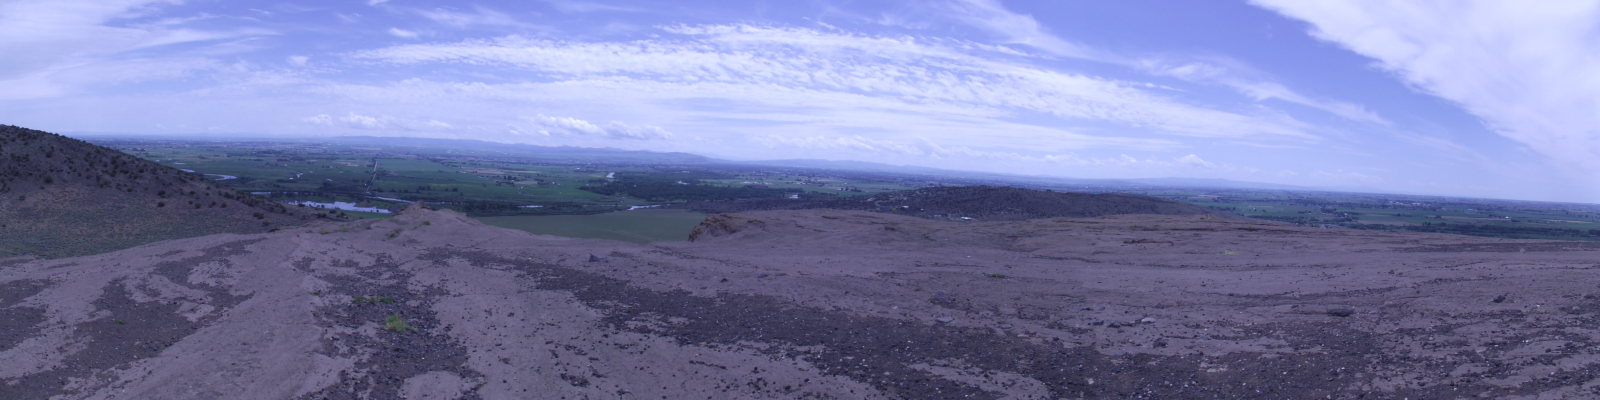
Great view
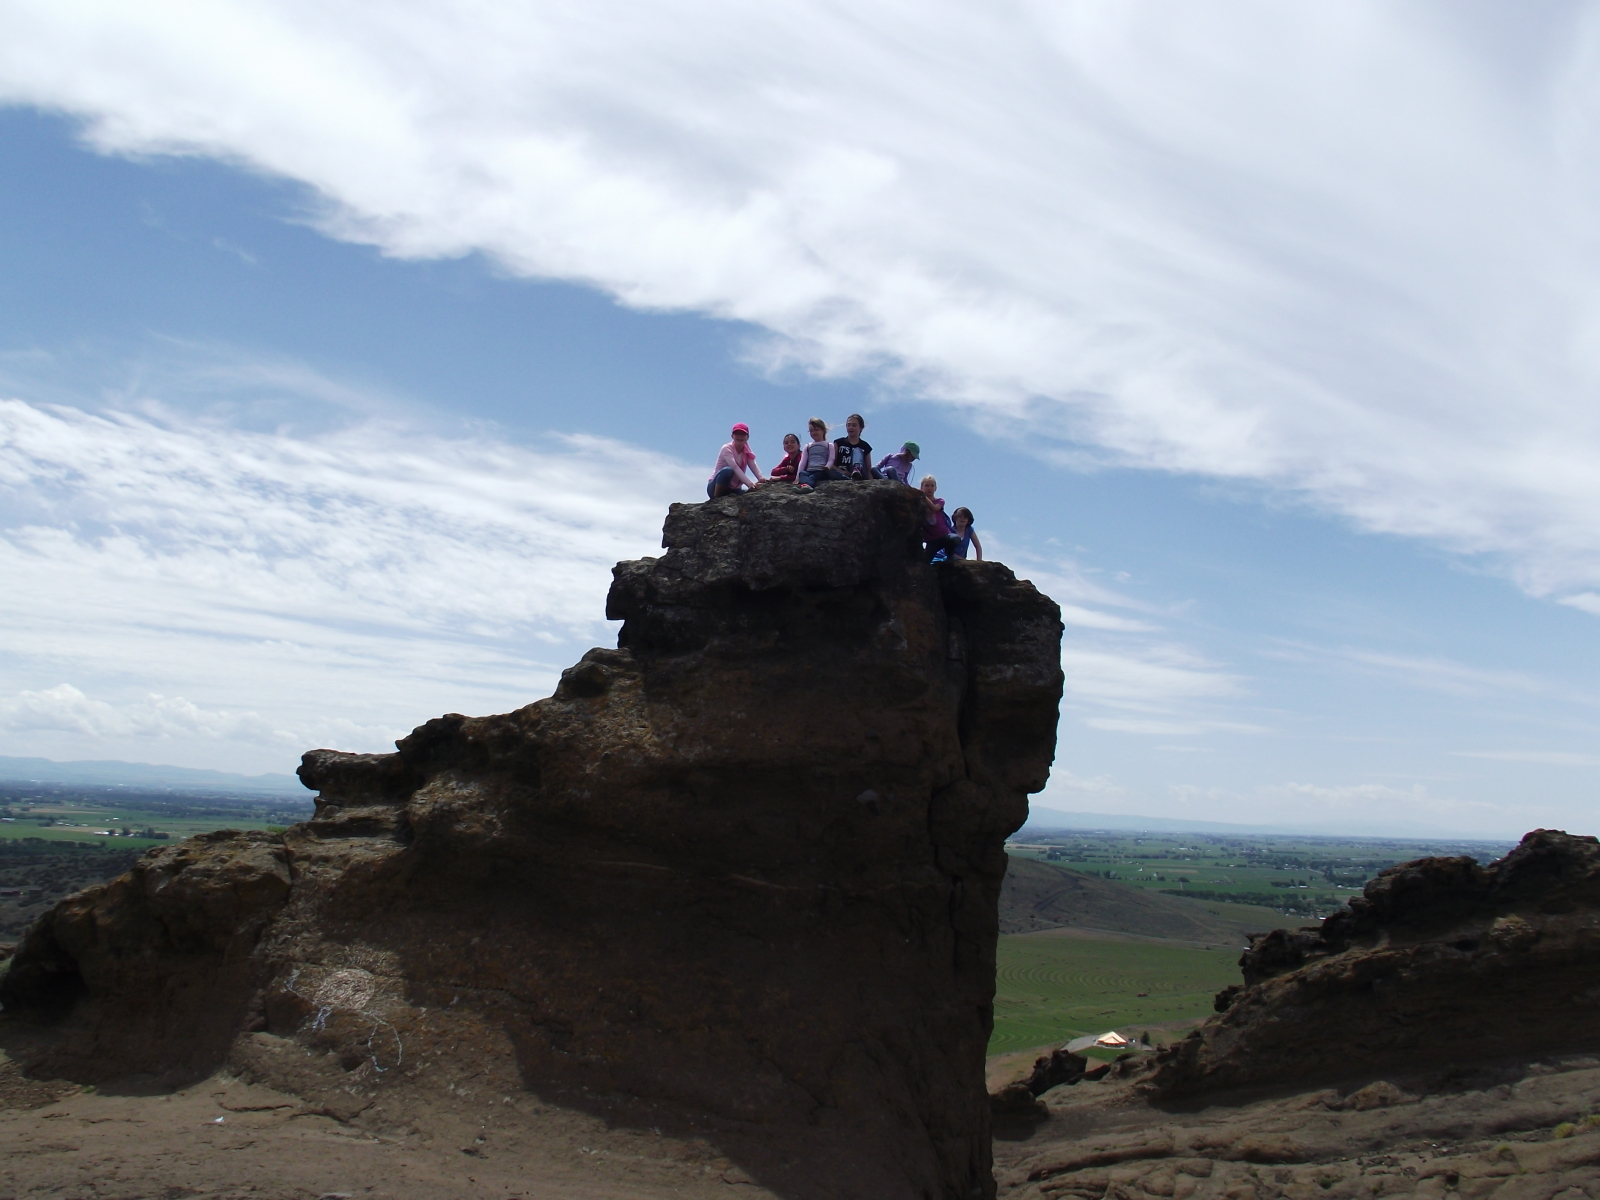
The girls climbed up on this outcrop. It almost gave Mary a heart attack.

They are having so much fun

Another silly picture. Every time I took a picture they felt it important that we take a silly picture too.
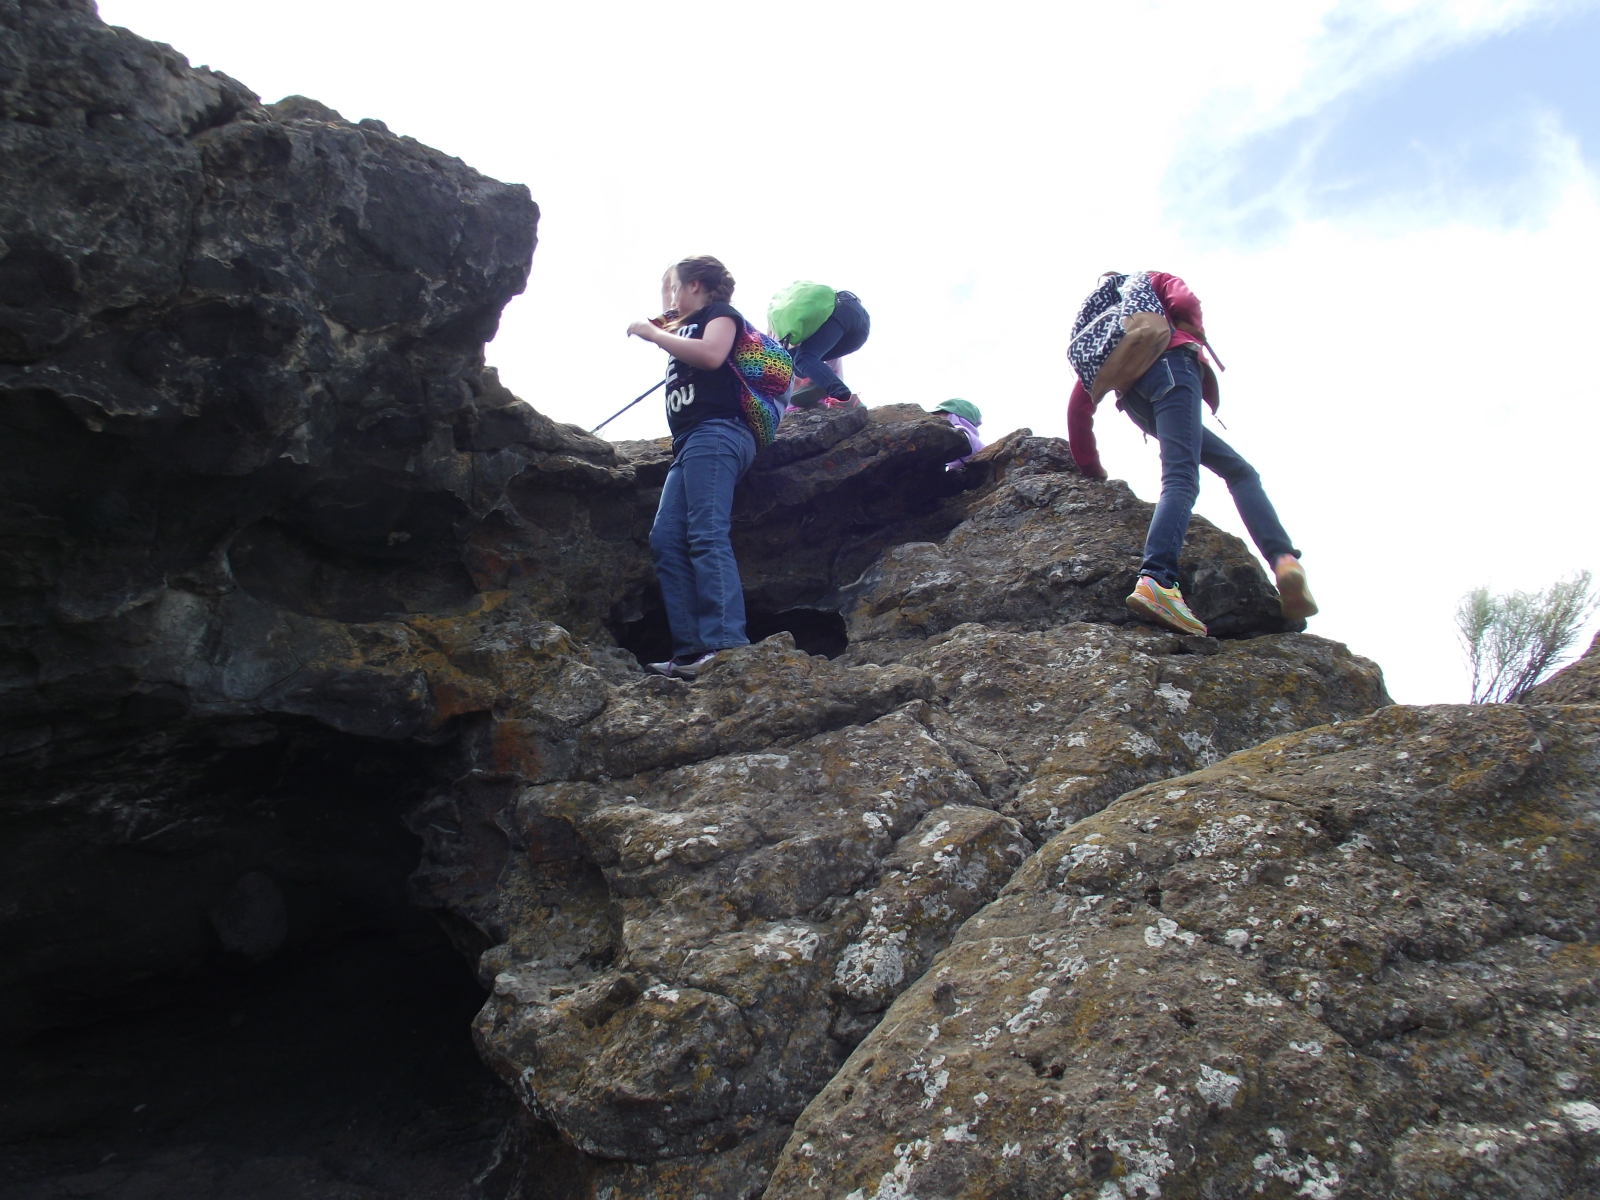
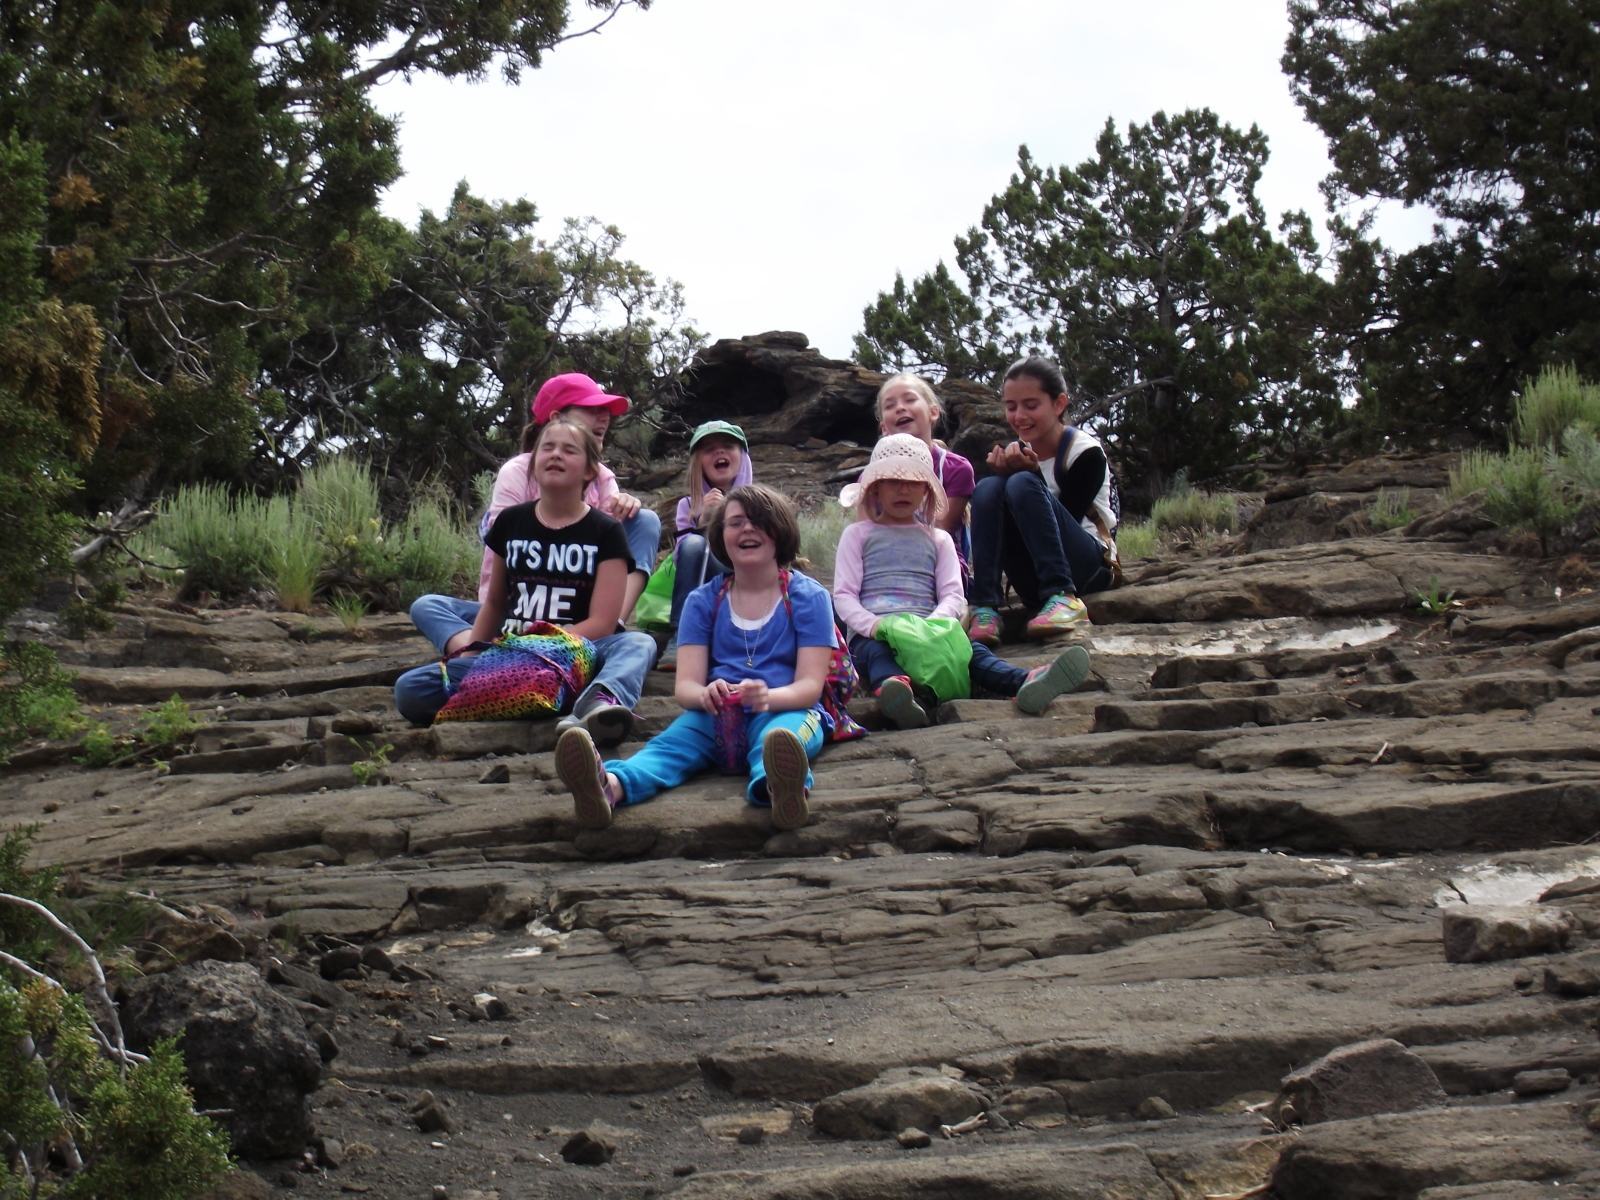
climbing around on the rocks

Last climb before heading back.
End of hike picture. Do they look tired?
Last silly picture.